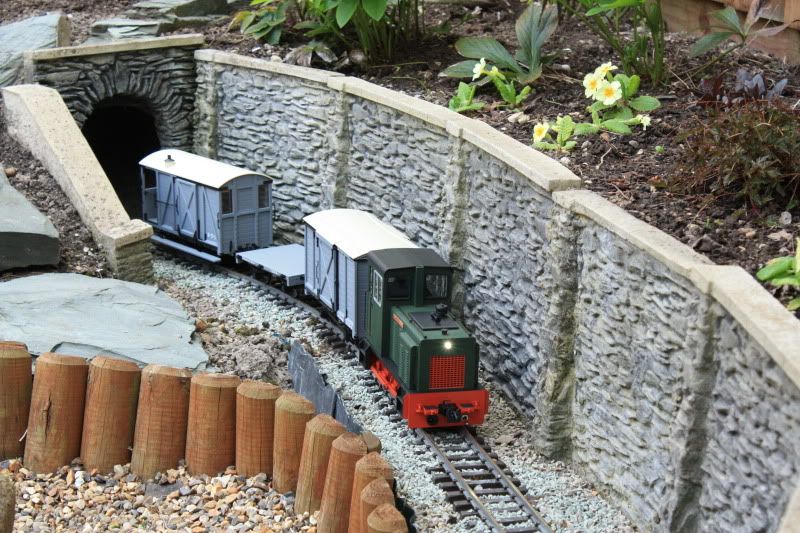
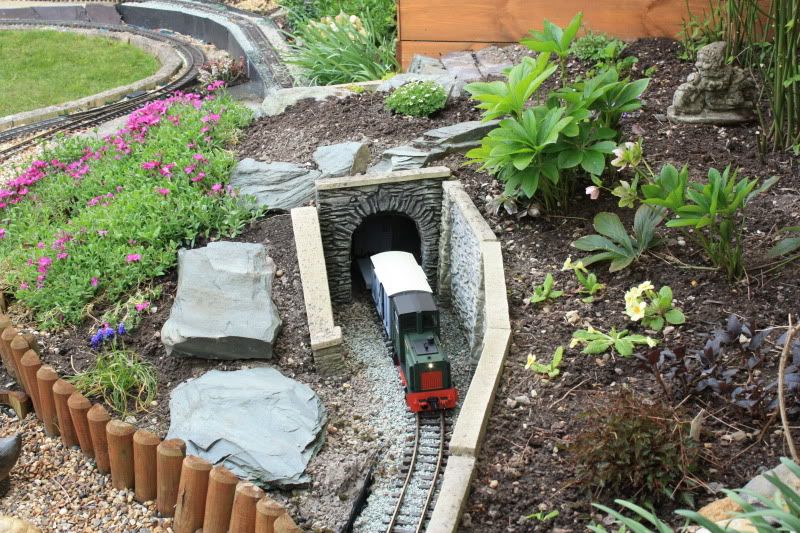
by John Roach When I planned the ALR, a tunnel was high on the wants list. (So was a bridge/viaduct, but that has proved more difficult). The ideal situation for the tunnel was in what would become the flower bed at the end of the garden. As the ground sloped up towards the end of the garden, it was an opportunity to introduce a change of levels. The trackbed of the ALR was built using concrete blocks as the base. Not the lightweight ones, as I had read/heard that they were not as weatherproof as alternatives; solid concrete ones. Bloomin' heavy they were, too. A friend who works for Anglian Water found me some 10" diameter waste pipe, which was cut to a suitable length to allow me to reach the middle for cleaning or rescue operations.The blocks were tripled at each end of the tunnel to allow for fixing the tunnel portals and retaining walls. 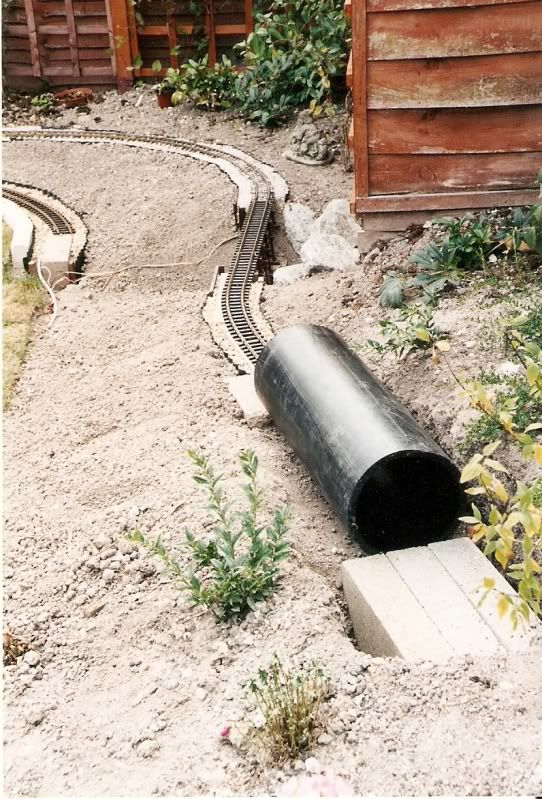 As per advice in the magazines, the tunnel was constructed on a slight falling gradient. Track was fixed to a wooden batten through the tunnel, with railclamps rather than joiners at each end, to allow for the track to be lifted out of the tunnel for replacement, or to be packed and re-leveled if the tunnel settled. (This has not yet been necessary in seven years - touch wood!). GRS concrete portals were fixed to the concrete blocks with a dab of mortar, and bonded to the pipe with a healthy dose of silicone sealant.  To allow for fixing the retaining wall, the blocks on the descent from the tunnel were laid on their side, having pounded the ground level first. (Using the blocks themselves to do the pounding - good for the arm-muscles!) 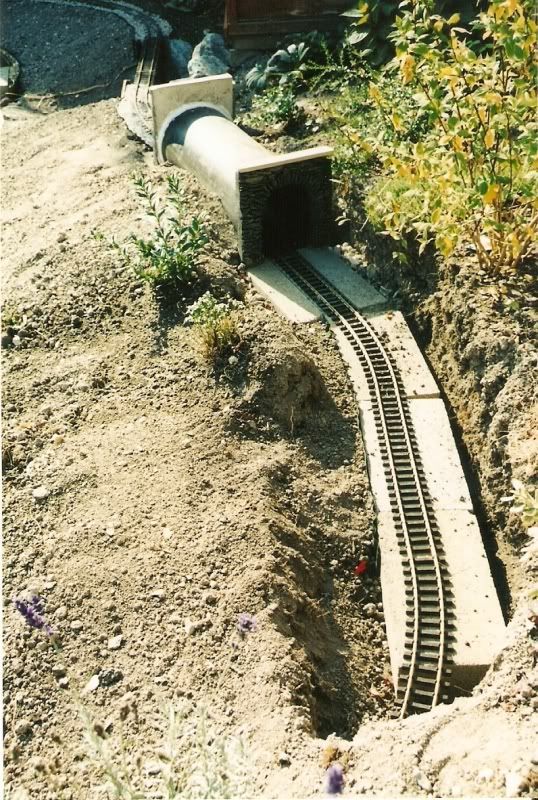 The retaining wall was mortared in to position, as the soil filled in behind. 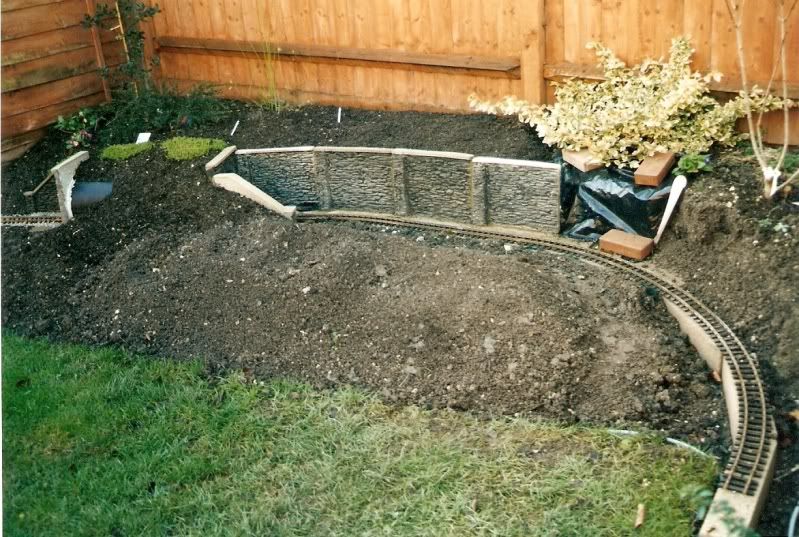 |
Workshop >