
John St James 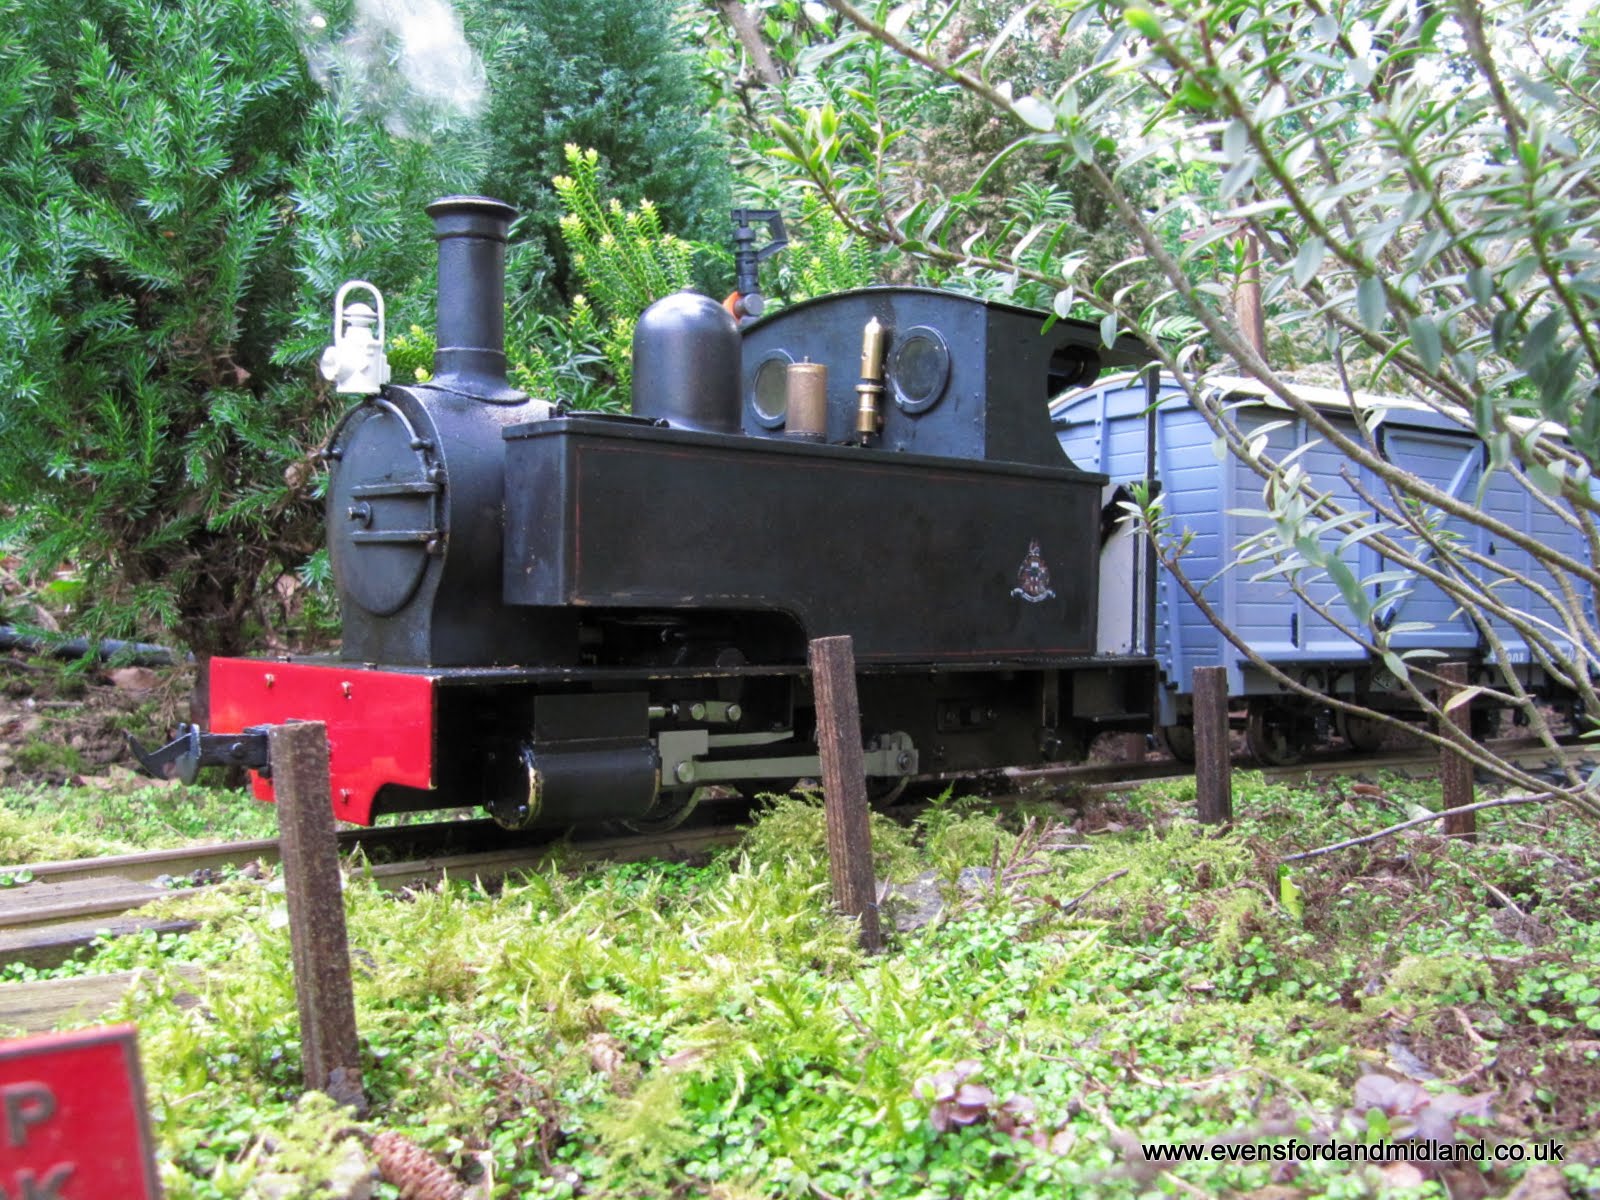 Caradoc arrived with me in 2009 at Rothley (Charnwood Forest Railway), bought from Matt. It had already received a very effective matt black to makes it look well-used. 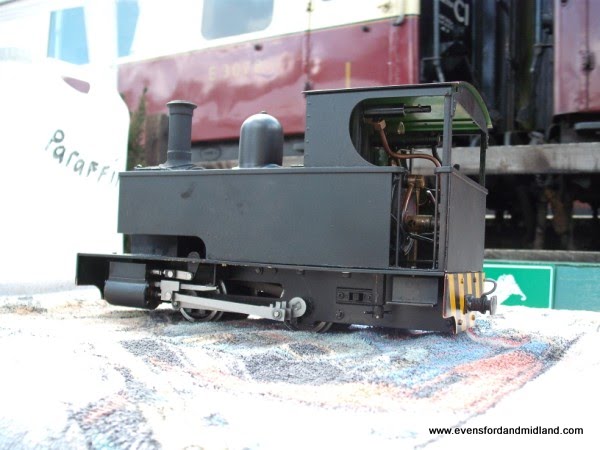 The loco at the CFR with one of its big cousins in the background. Do visit the CFR at Rothley if you have the chance. Super railway with its own 12"/ft garden railway. As it comesThe loco had been fitted with a perfectly serviceable 40 MHz 3-channel radio with only one channel in use on the reverser. It has been in service with this arrangement for nearly a year. I realised I was favouring my Lawley partly because of the whistle and better control. Caradoc is a very powerful loco, quite capable of pulling any normal train on the EMR. So it was time to introduce the modifications.The PlanThe list started as:
First StepsThe wasp stripes went first. The EMR has dreams about being in various eras but none of them would have invented stripes yet.So by our first trip away from home, the wasps were dead, seen off by some Post Office Red. 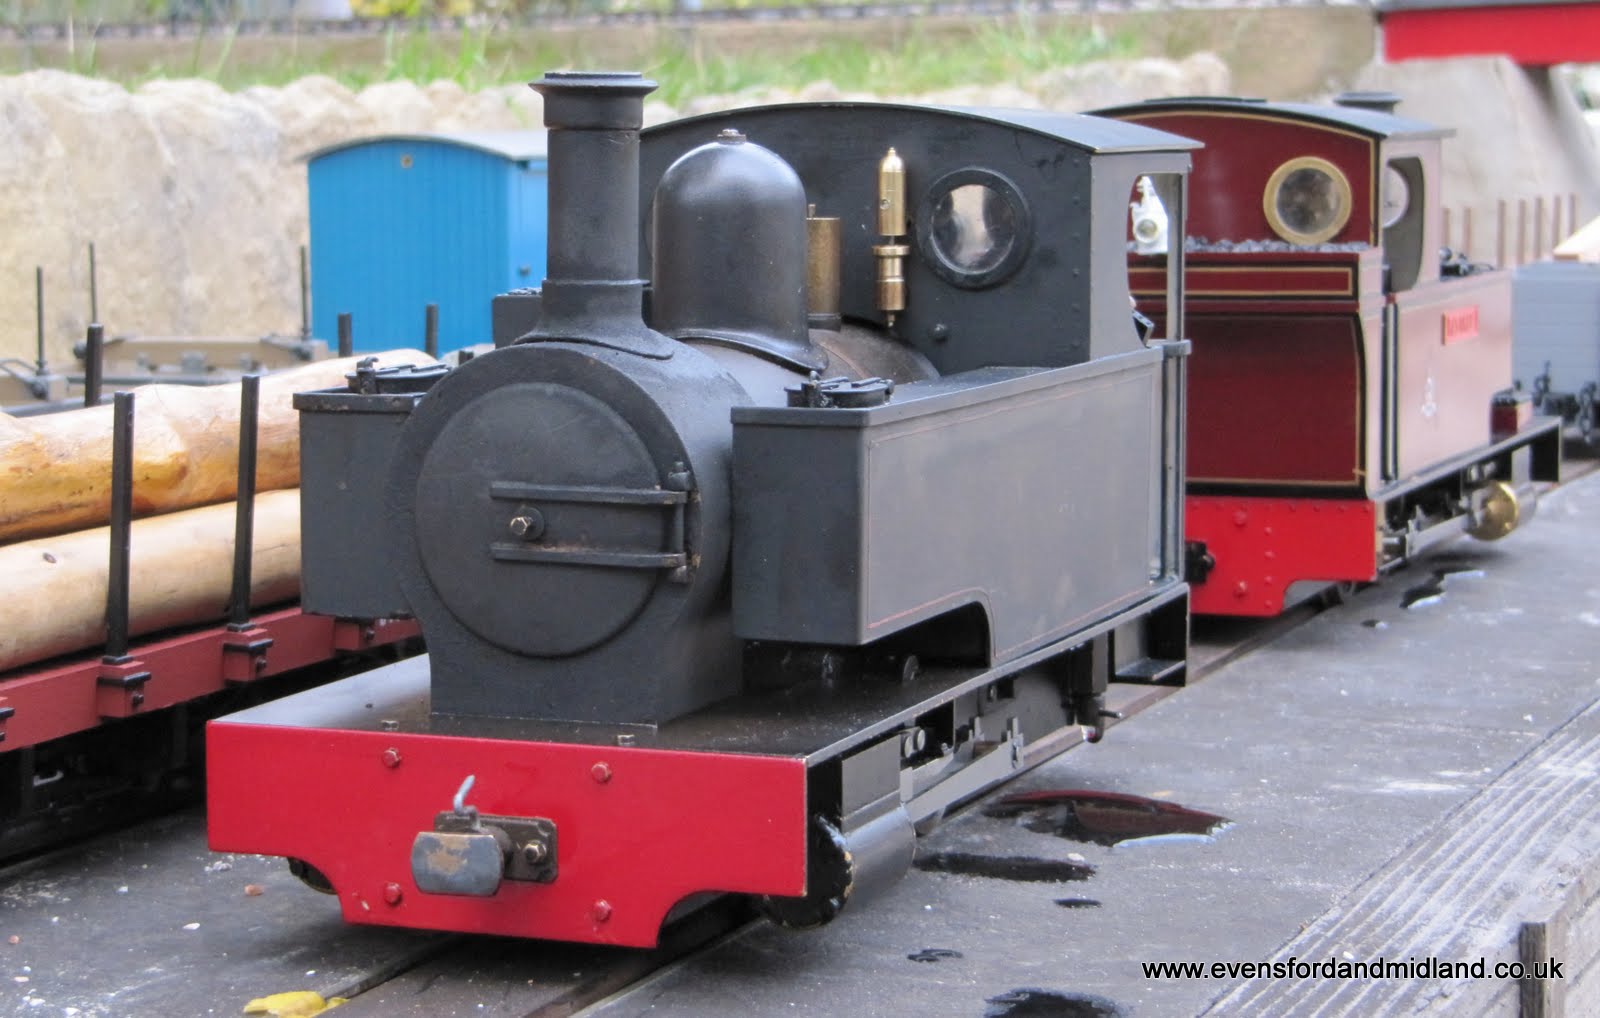 The DJB steam whistle has already been fitted (manual op at that time) and the tanks are lined in red. The cab is already cream inside too. The picture is on Kevin's dockside at the Flatland Washes Railway. Radio conversionThis always needs a lot of thought, as I like plenty of servos in there and I don't want a cab full of gubbins. So the four AA batteries need to go in the left hand tank: 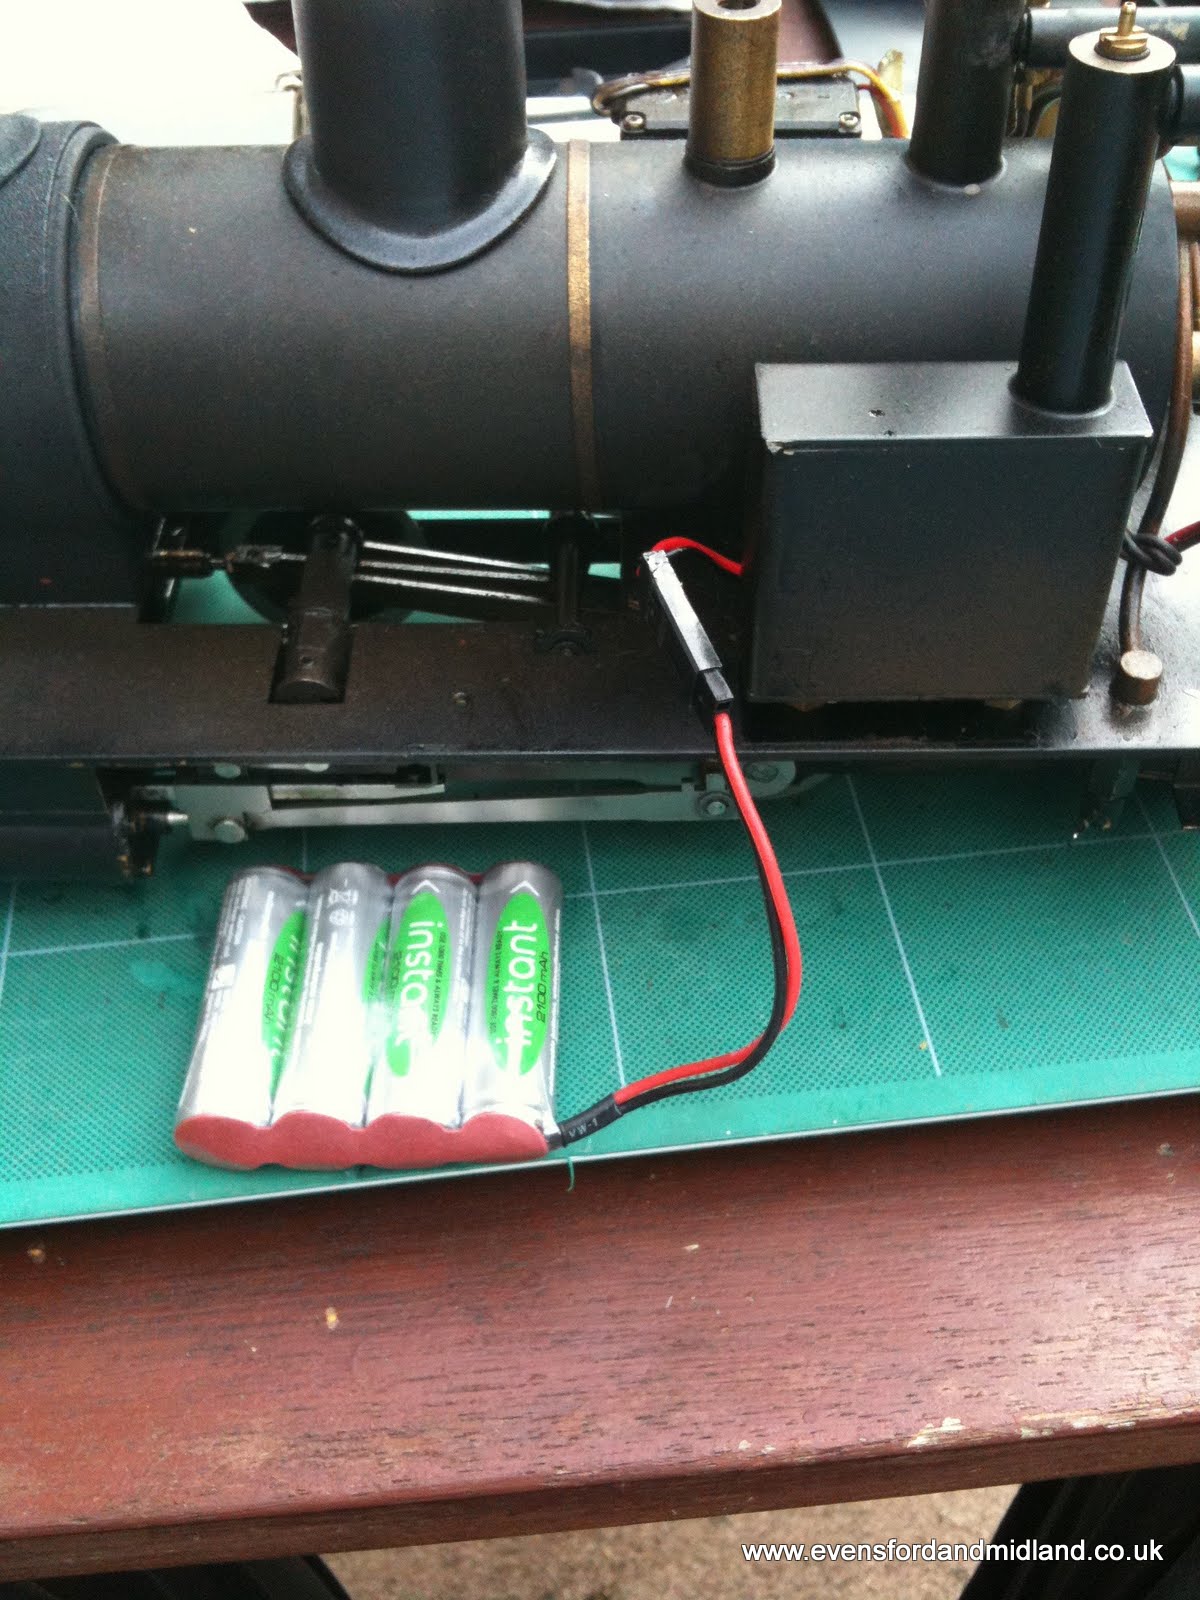 So they are given a little surgery (apologies for the tape but I had no heat shrink of the right size). The surgery only involves cutting the heat shrink - the connections between the batteries easily bend. that way you can make packs of various shapes without soldering the connections. I have tried this but the dire warnings of not overheating the batteries put me off a bit and I have decided to leave that to the pros with the kit to do it. I should mention that the batteries are the Vapextech "Instant" type of NiMH+. They hold their charge over long periods so I recharge after use and the loco is always ready. 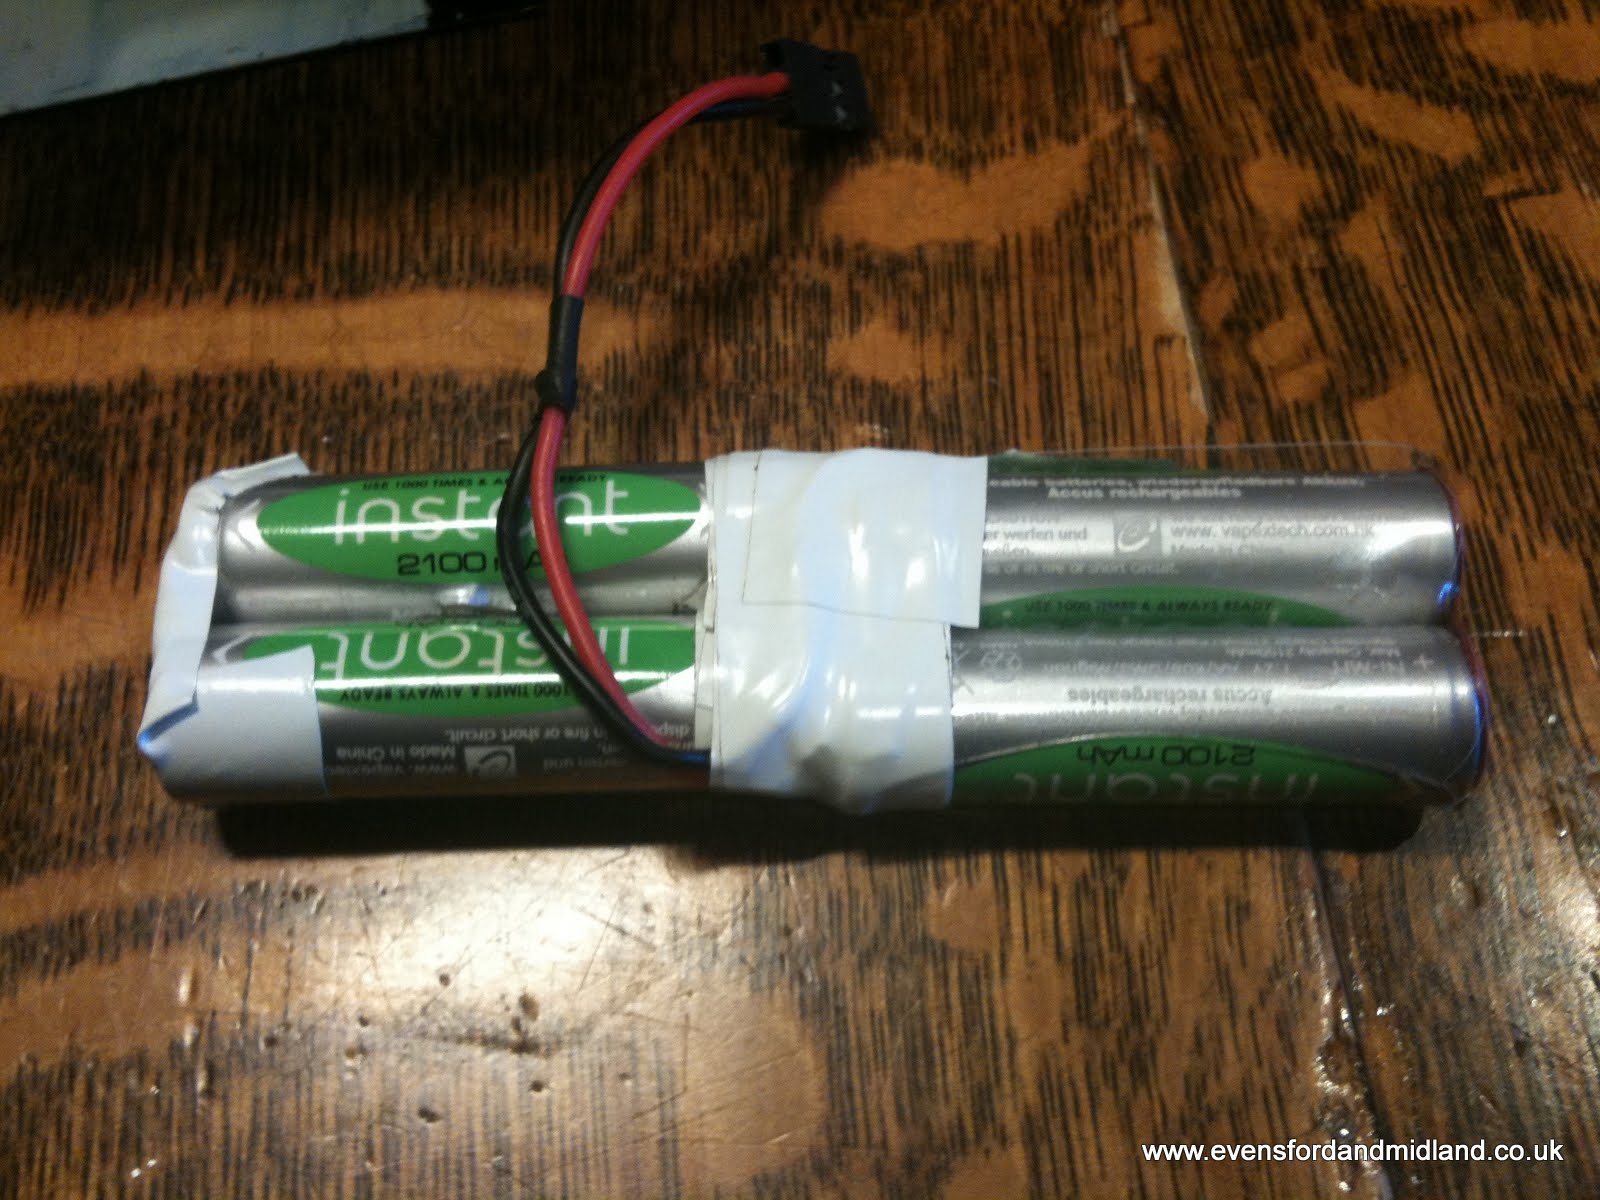 And now they fit very snugly, fixed in by some servo tape 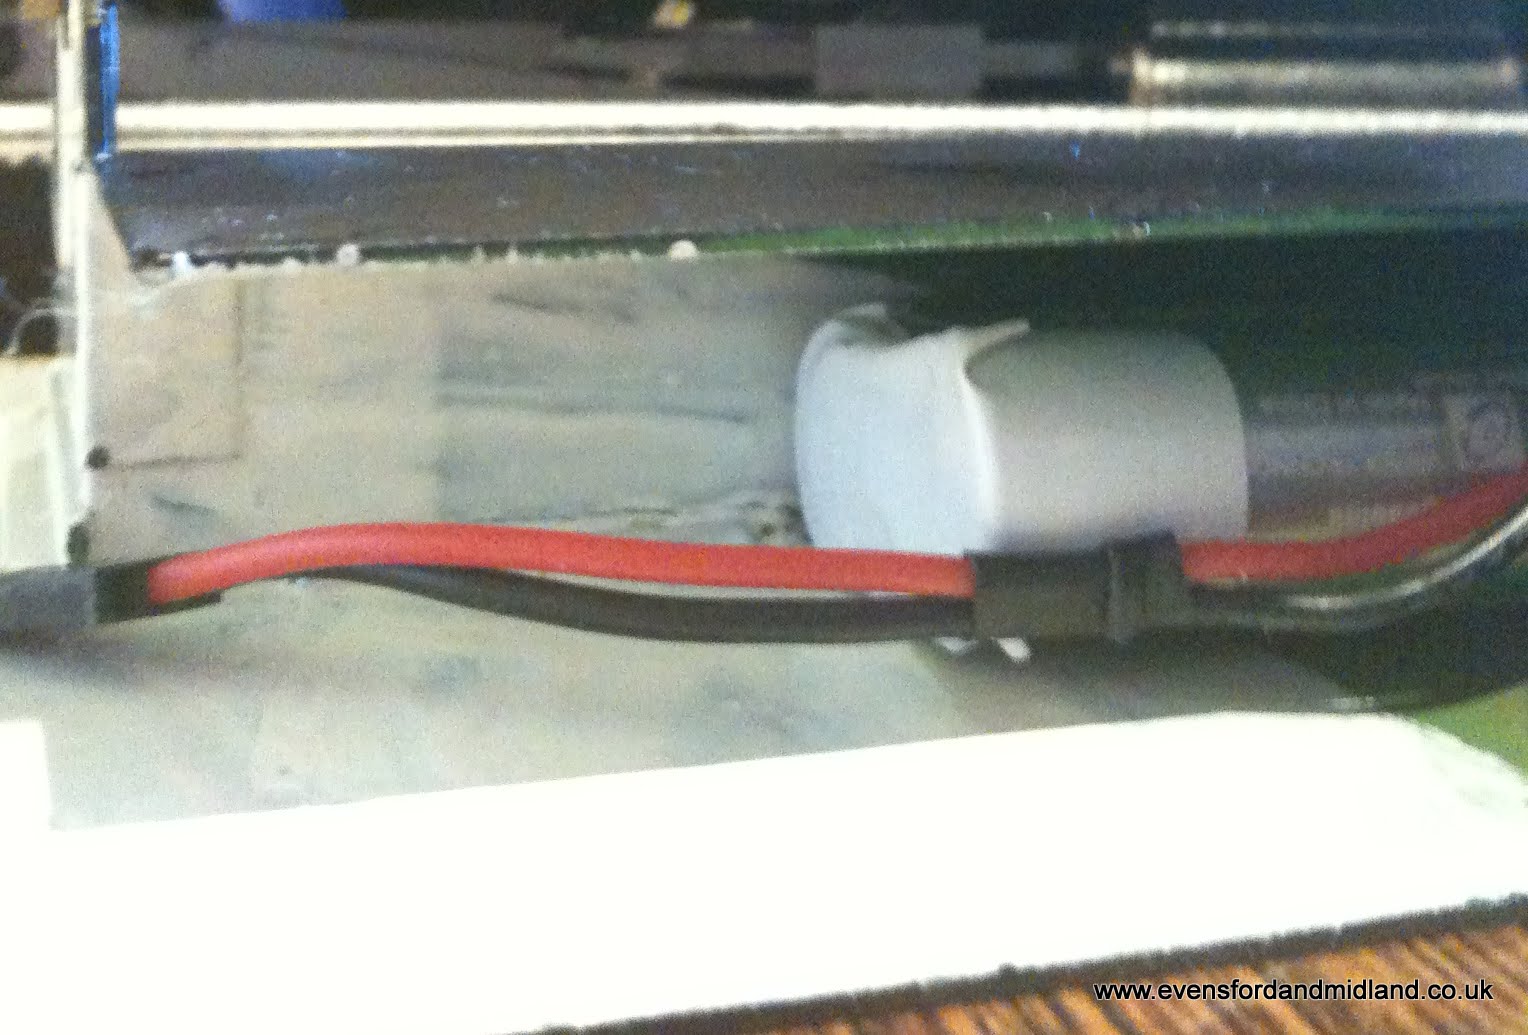 This gives much more room in the box under the cab. In fact, enough room for both the regulator and whistle servos as well as the receiver. A slot and a small hole are drilled for the actuation. More on the whistle actuation later but the regulator is a standard rod threaded M2 at one end and fixed to the servo horn with a standard ball joint. I really don't want water or oil on the servos so I may try and concoct a seal of some sort which will fit round the slot, so the only water which can pass through will have to drop straight onto the hole. 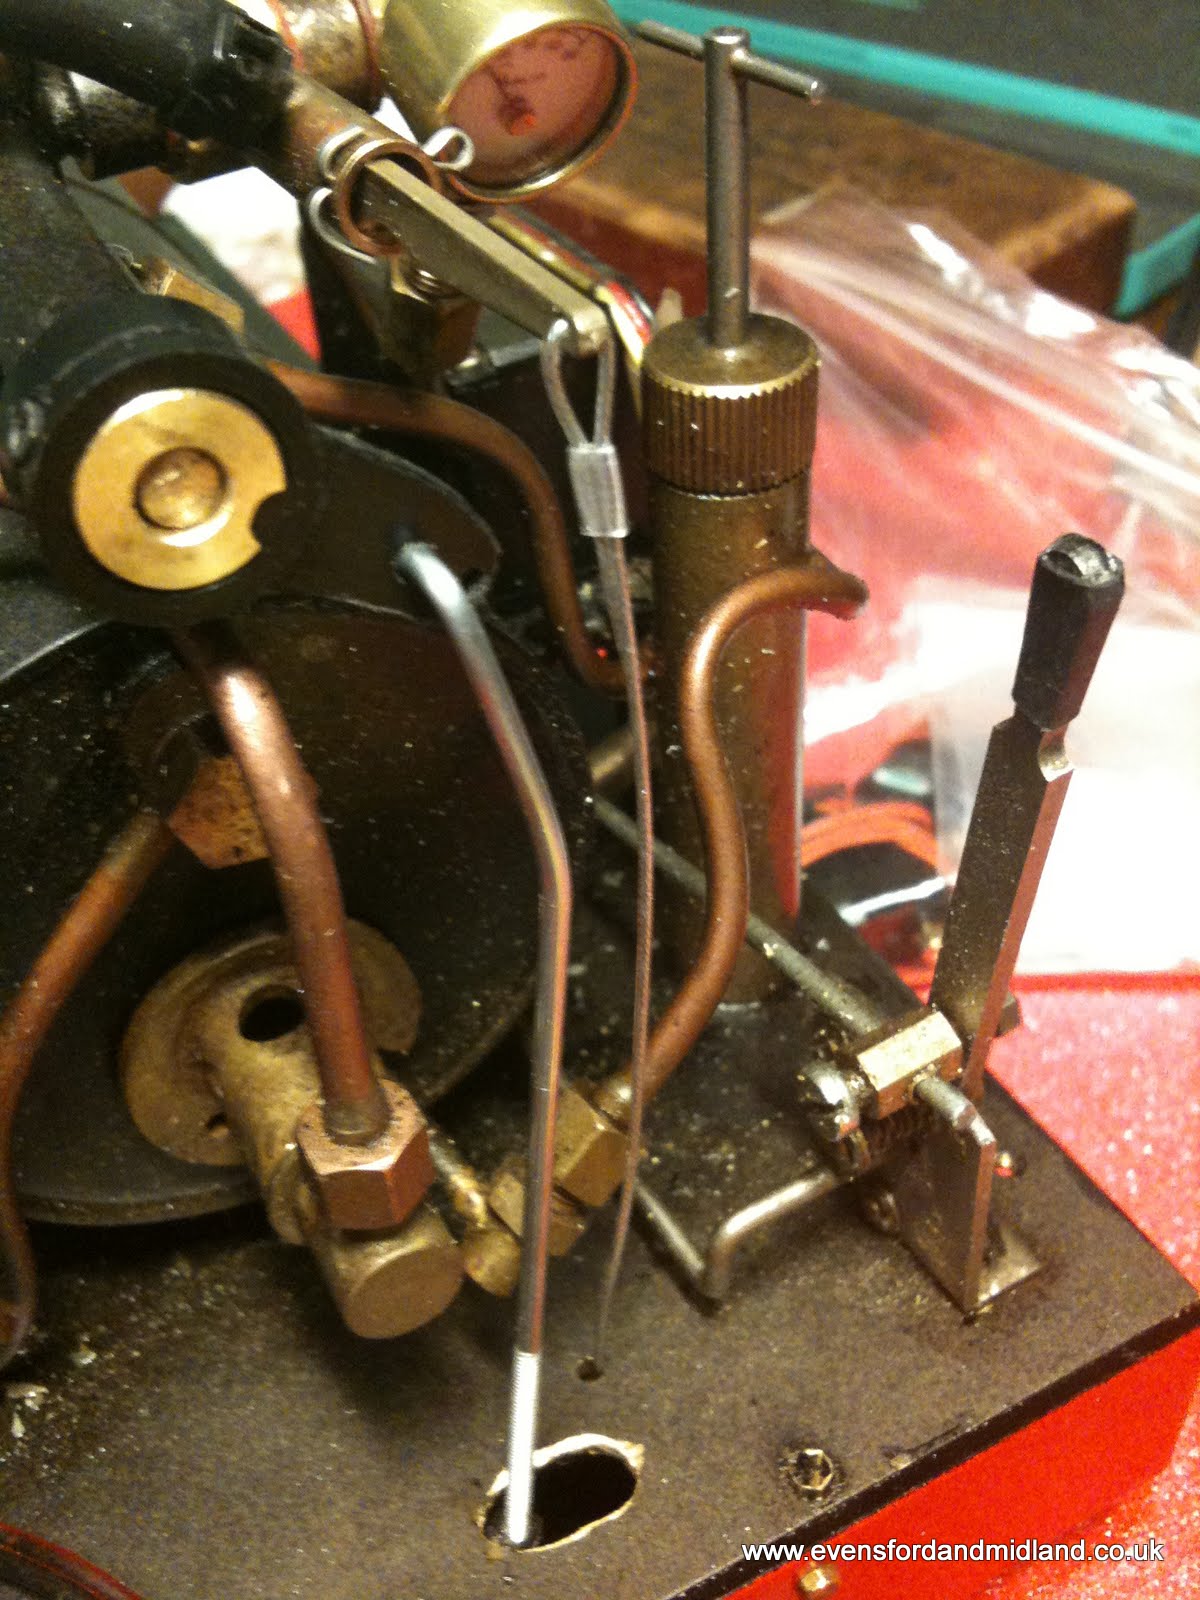  The receiver is a Spektrum AR6110E with the connections on the end. The servos are held in place with servo tape. The biggest bulk in the box is the switch housing! The gas valve servo is fixed to the gas tank again with tape. I am using the very thin Vigor servos intended for aileron actuation. They have metal gears and are powerful and tiny. At £11 each they are good value too. They are currently (17 March 2010) listed on ebay by Storm Trade at http://cgi.ebay.co.uk/ws/eBayISAPI.dll?ViewItem&item=220573565603 . This link will change but Storm Trade always seem to list them, They are called VIGOR MG 8g/1.7kg/.12s Thin Wing Servo . The stall torque at 4.8V is quoted as 1.5 kgf.cm which I would say is more than enough for most of our applications. The listing says "The best way to mount these tough little servos is to cover with heatshrink and
then glue into the wing or use the fitting lugs mounted on the bottom." I have cut the lugs off to save space! I use the dual rate (D/R) facility on the Spektrum DX6i to give fine control of the gas valve once the loco is under way. The M2 threaded rod is better than the brass I used to use in early installations. Rigid, cheap, easy to bend and of course designed to screw straight into the ball joint fitting. 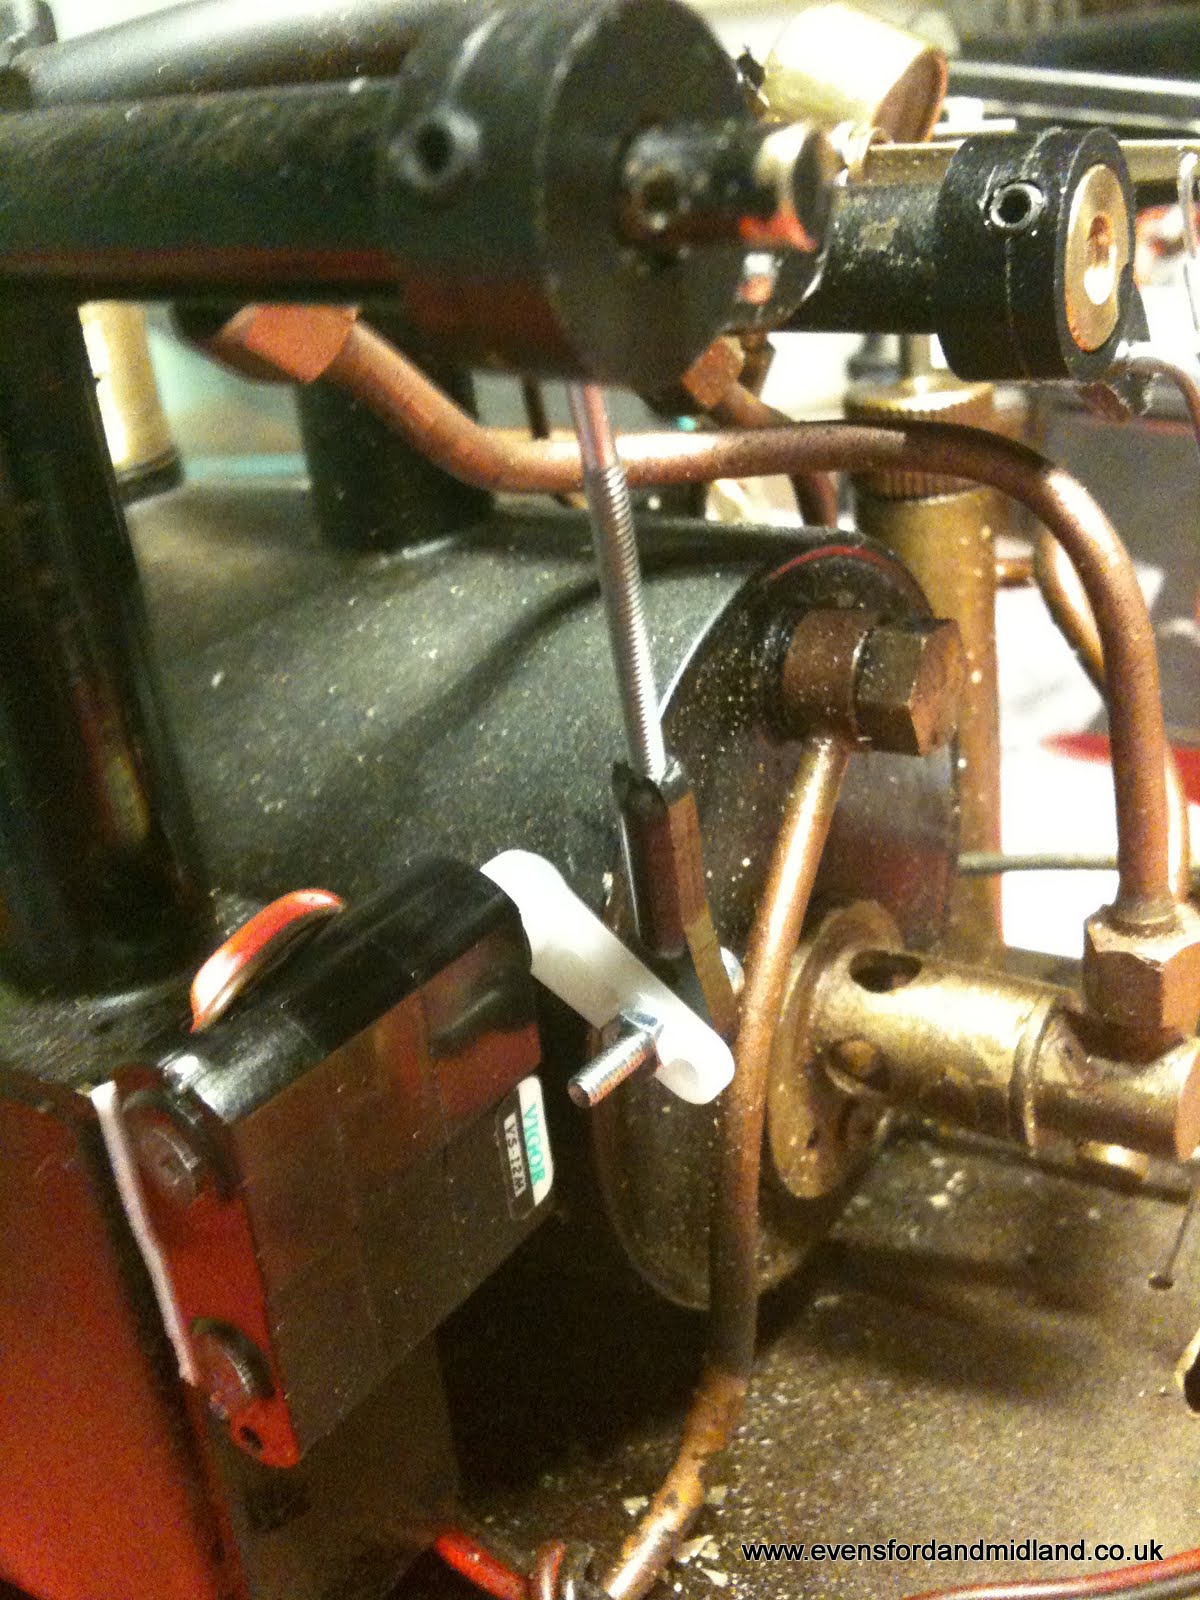 The whistle valve is cable-controlled. This is a new discovery for me. As the valve is spring-loaded, this allows one-way actuation and the cable is ideal for this. They complete cable actuation kit is sold with all the fittings and 3 metres of plastic-coated steel control cable for about £4. Here is the packet label for anyone wishing to investigate further: 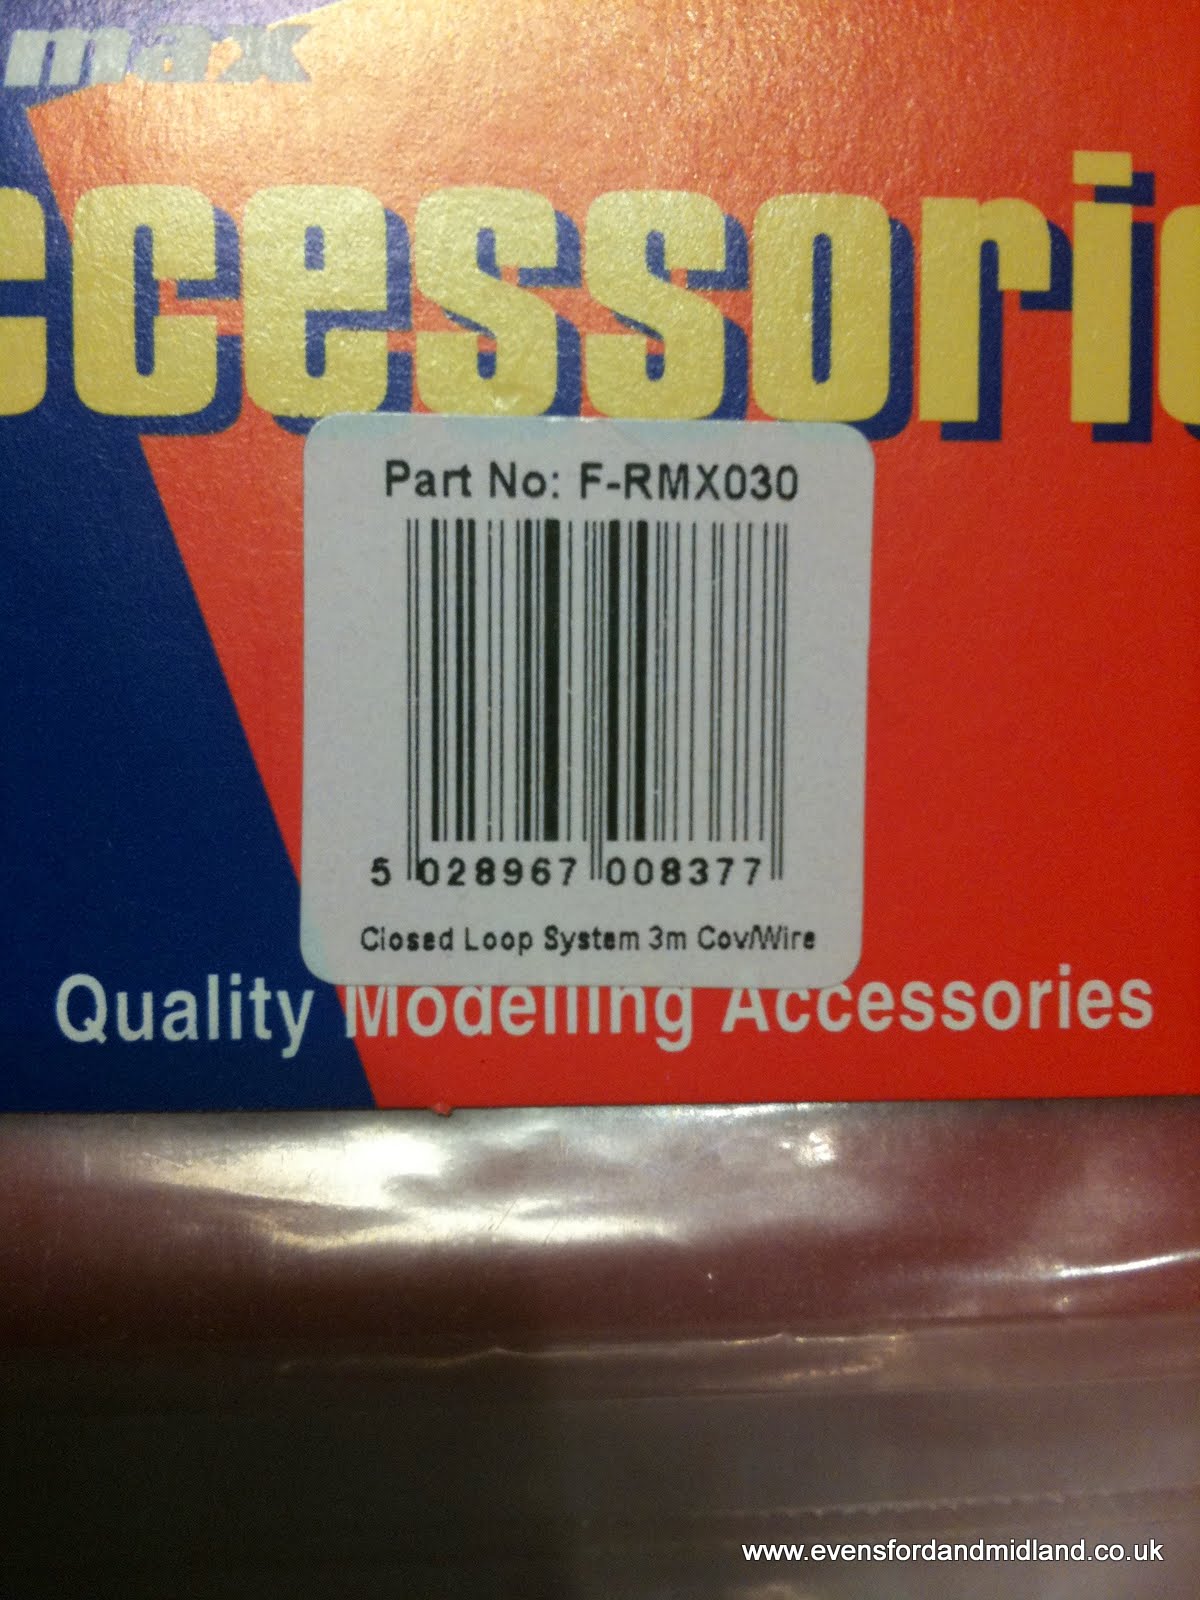 The cable goes through a 2mm hole in the cab floor (which can be seen in the picture above) and is very unobtrusive. 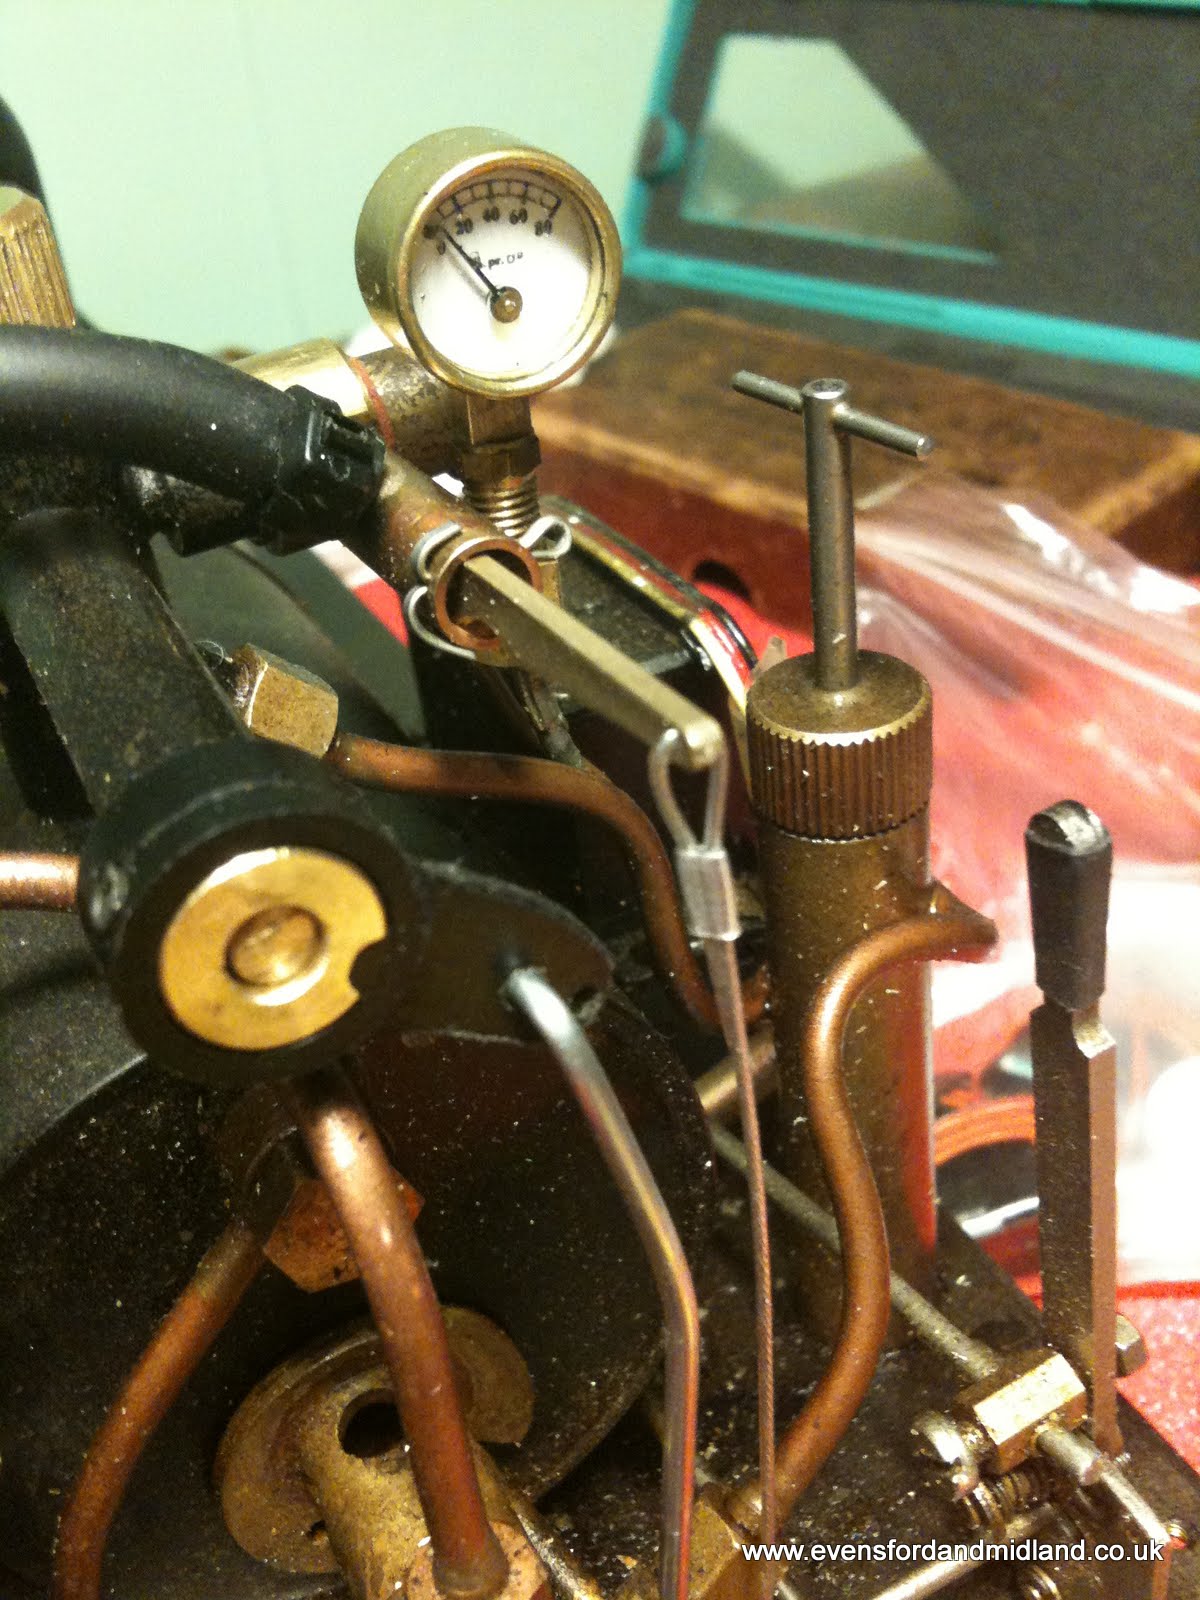 CosmeticHandrails and blower pipeThe smokebox handrail and front lamp iron have been fitted and the blower pipe has been made and fitted. My first management job was as Foundry Manager of a small iron foundry. The chap who ran the fettling shop used to reckon the foundry sent him rough lumps of cast iron and he had to hue them into shape with his angle grinder. Taking this as a lead, the flange on the smokebox end of the pipe was indeed carved from solid with use of my wonderful cordless Dremel. I wish I had had that years ago. The observant will notice that the additions are not yet painted...guess what colour they will be. The blower pipe is in fact brass rod which will bend to very tight radii - far easier than tube, whcih crushes (how do I know this?). The flange is soldered on using soft solder, leaving a piece of rod sticking out behind. The smokebox is drilled a snug fit for the rod, as is the front of the cab. This has to remain loose so it can be removed if the cab needs to come off. This arrangement is fine and has been working well on my Lawley for a couple of years. After some use, I have discovered that oil will leak out of the smokebox where it is drilled for the blower and dribble down, spoiling the matt finish of the smokebox. A countermeasure is to put some silicone bathroom sealer (either clear or preferably that indispensable black) underneath the flange so it covers the join. The sealant seems quite OK at smokebox temperatures and it will remove and replace if you need to take the blower pipe out to remove the cab. 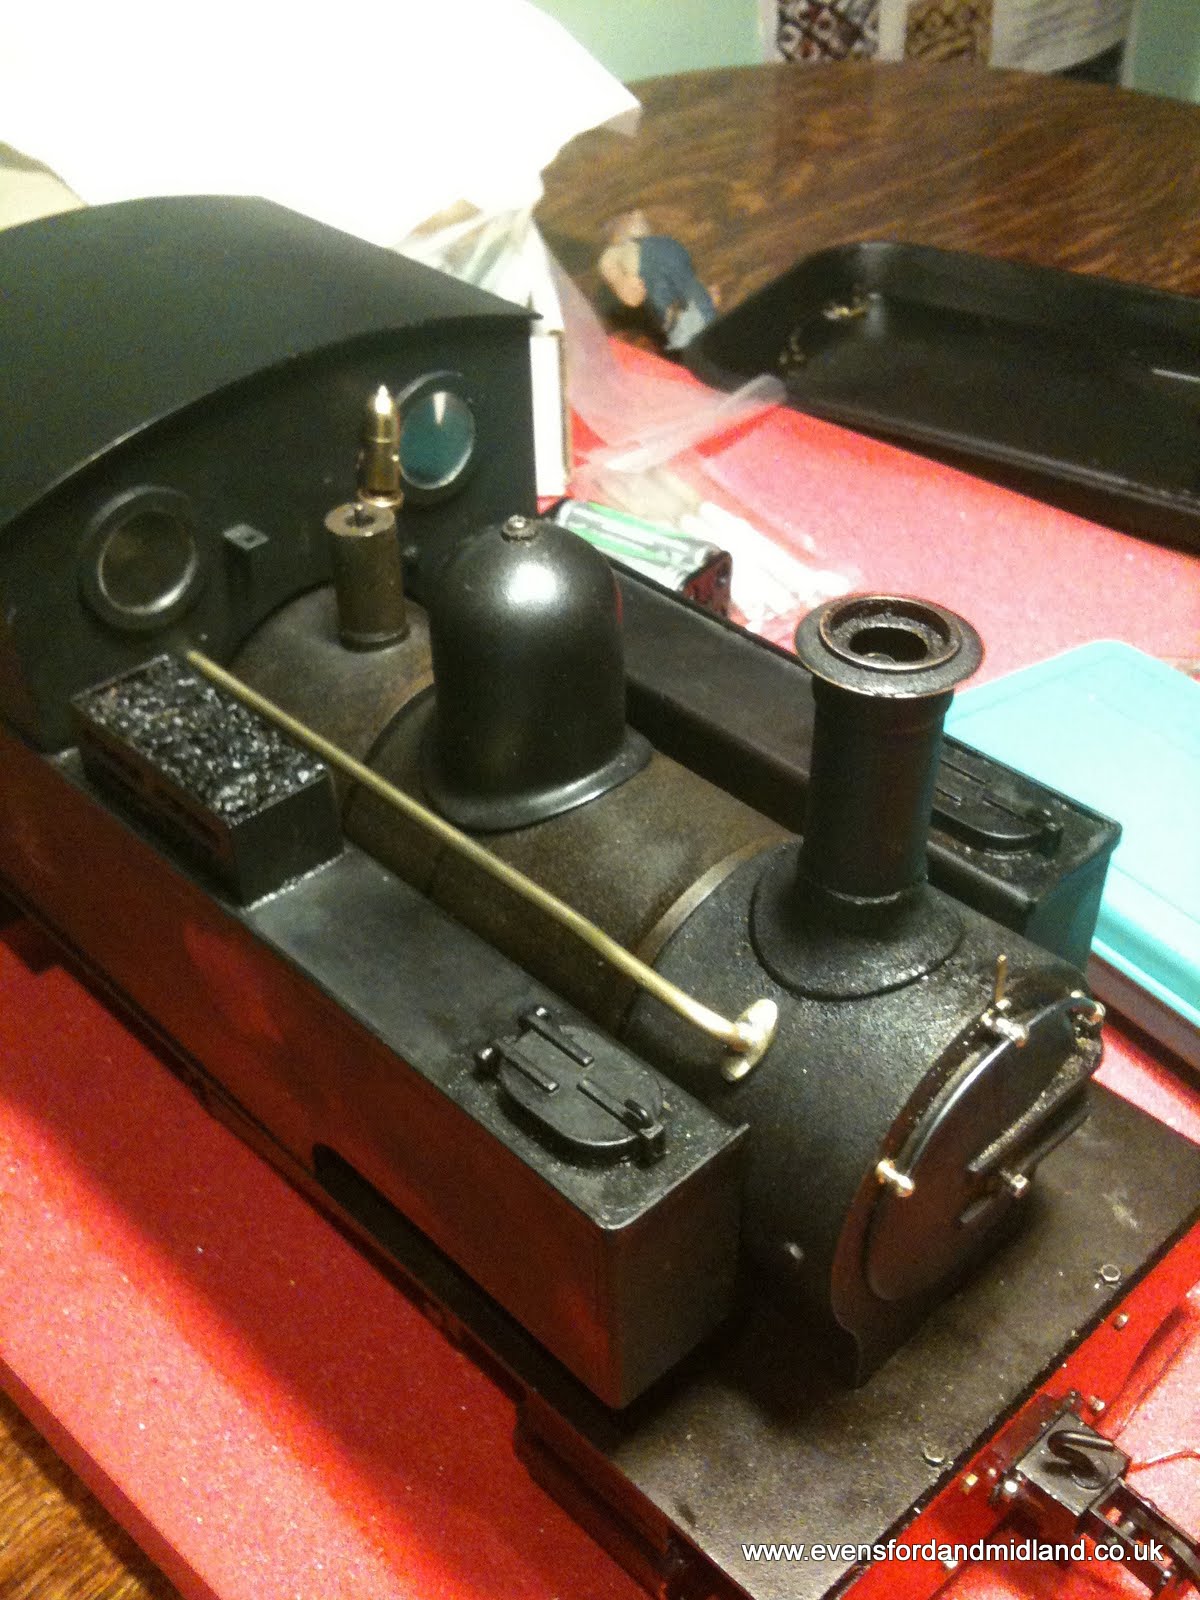 Vacuum pipes, steps, more handrails, cab back sheet, rust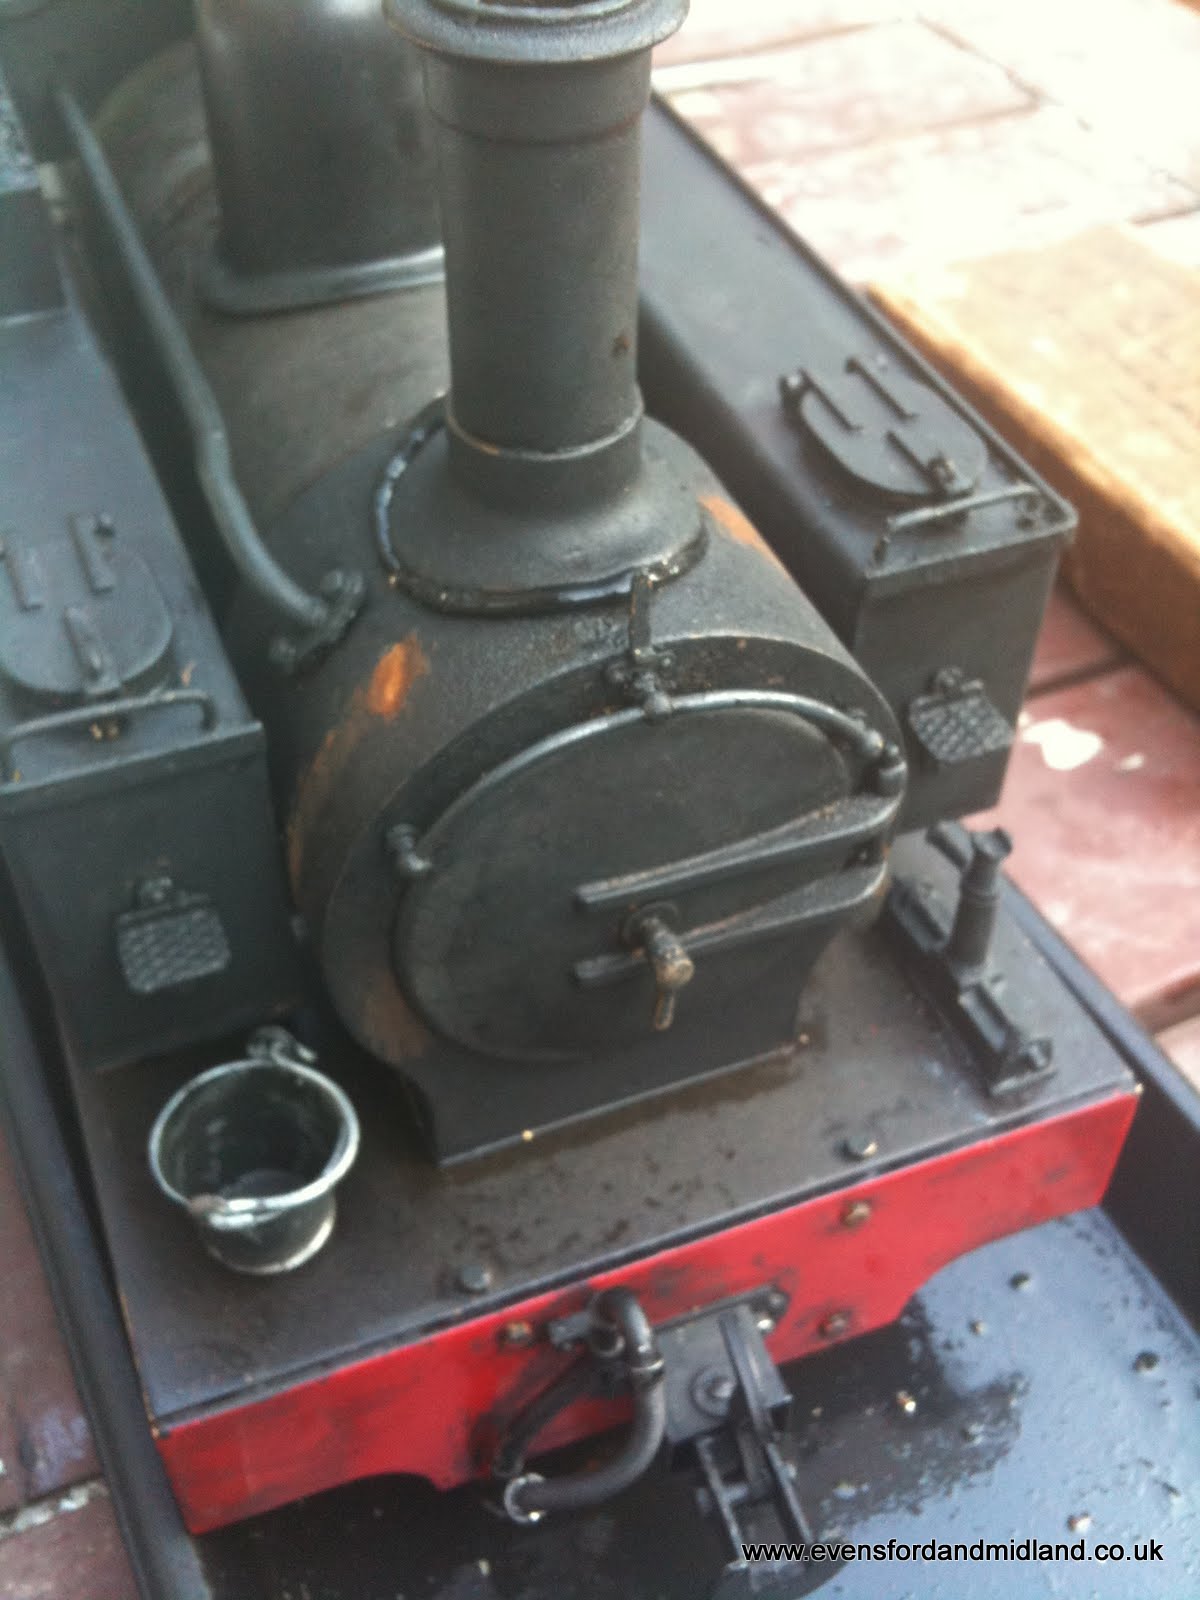 Some more cosmetic work on Caradoc, with some to go yet. The missing smokebox dart was replaced by one from DJB, bought at Stoneleigh. The centre hole was drilled and tapped 6BA and the dart was already threaded. This early Caradoc has a solid brass smokebox door, built to withstand any eventuality up to and including a tactical nuclear weapon. I wanted to experiment with some rust on the smokebox - not uncommon on an unkempt loco. The matt paint was scratched off and some real rust was applied. Trouble was the oil was pouring down the inside of the chimney and leaking out of the joint, running over the rust and making it look a very dark brown, so hardly noticeable.. Having tried a fix for the oily chimney on Lawley which seems to be working, it was applied to Caradoc. This is to remove the chimney and put some silicone sealant underneath it. This can be seen oozing out on the picture above. It pulled off when it was set. This has now allowed the rust to show up. (See above in the blower pipe section) Also on the picture above are the new steps and handrails on the tank fronts, the re-railing jack (on the EMR? I should hope not but all locos now have them just in case) and the vacuum hose. The crew have been demanding a sheet to hang down at the back of the cab for inclement weather, so one has been provided. It seems to have been cut from a wagon tarp - I do hope it was an old one and they didn't just cut up the first one they came across. The cab roof now has a sliding vent too. Molly-coddled I call it. They'll be wanting opening spectacle lenses next... 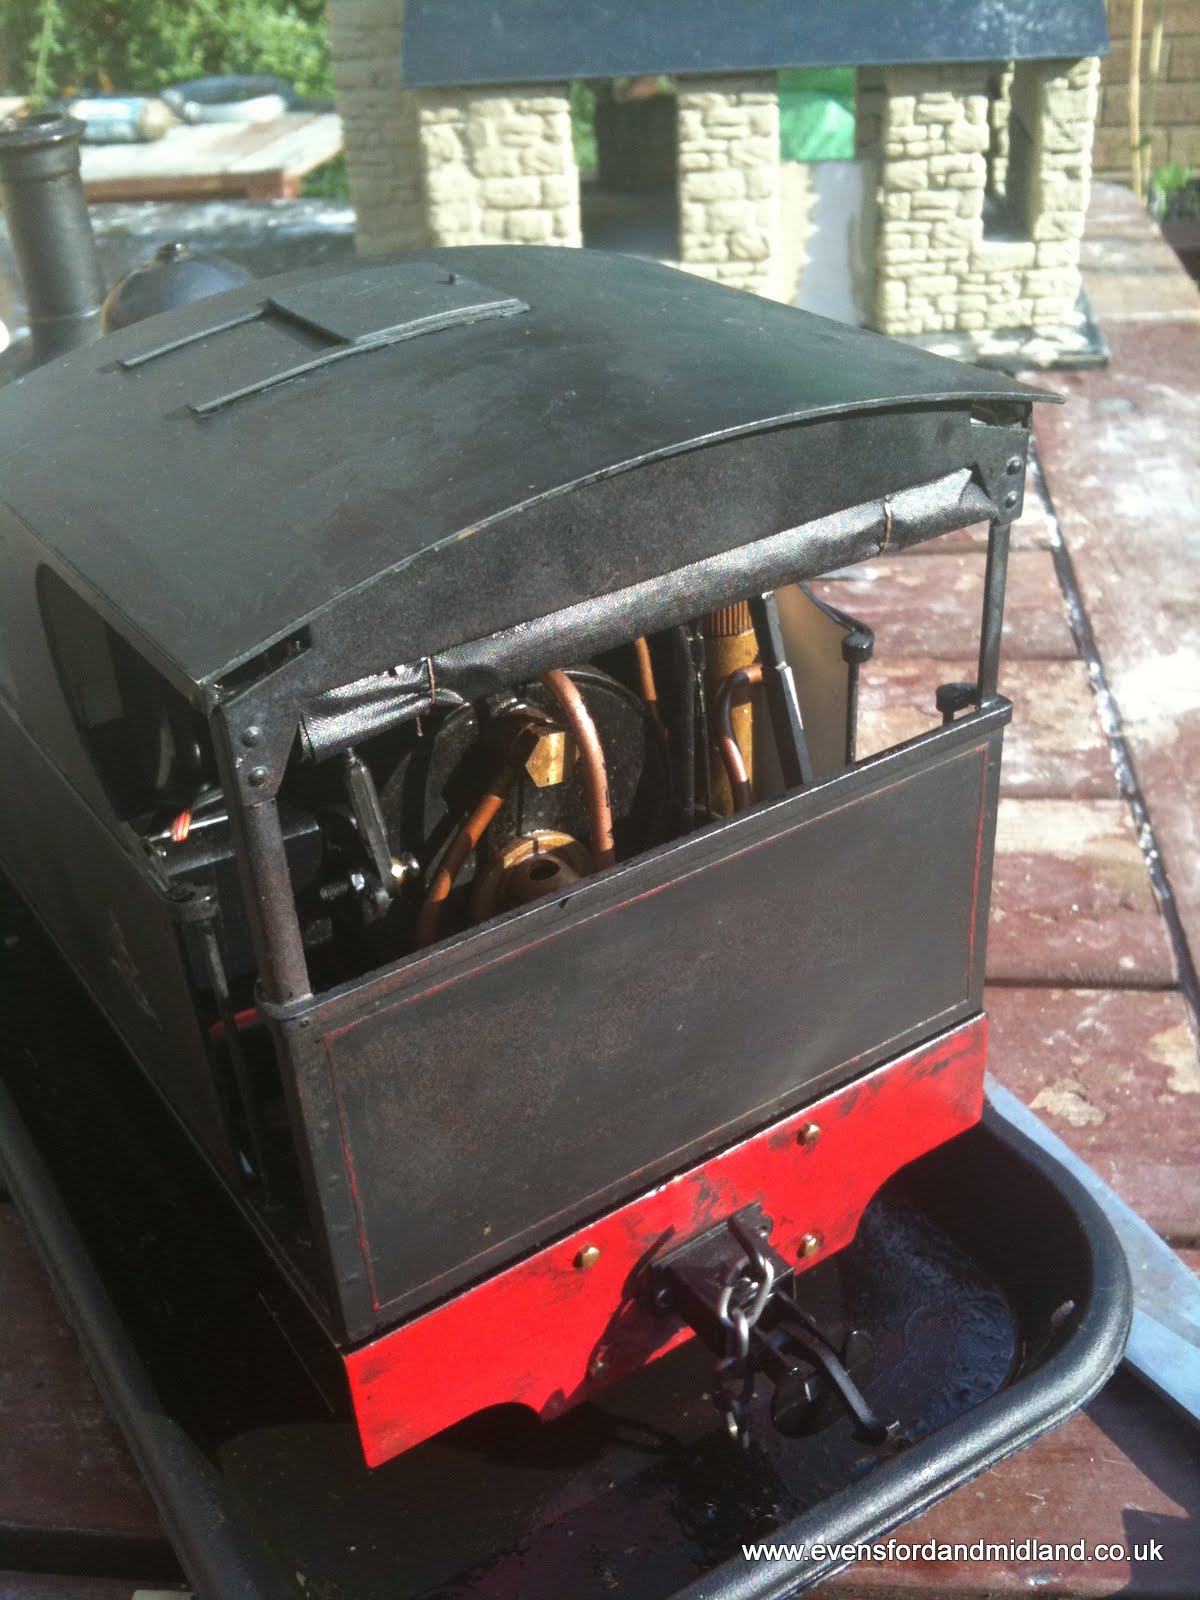 Goodness knows what Sir Guy Granet, the Midland Railway General Manager, will say if he ever sees a loco on the EMR in such a state Safety valve coverThat safety valve doesn't look "right" to me. Having seen the one suggested by James on my "Earl arrives" page and not being able to buy one, I tried a Roundhouse one for size but for £15 I would still have to mackle it up. So, the decision was taken to make one (for practically nothing it must be said).Tools and raw material required: Trusty cordless Dremel - did I mention I kind of like that bit of kit? Jeweller's blowtorch Carr's solder and flux 22mm copper plumbing pipe 17/32" brass tube - a good snug fit (after a bit of persuasion with the Dremel) onto the safety valve. Oh and a couple of bits of scrap wood to stop setting fire to the garden furniture, mmm... 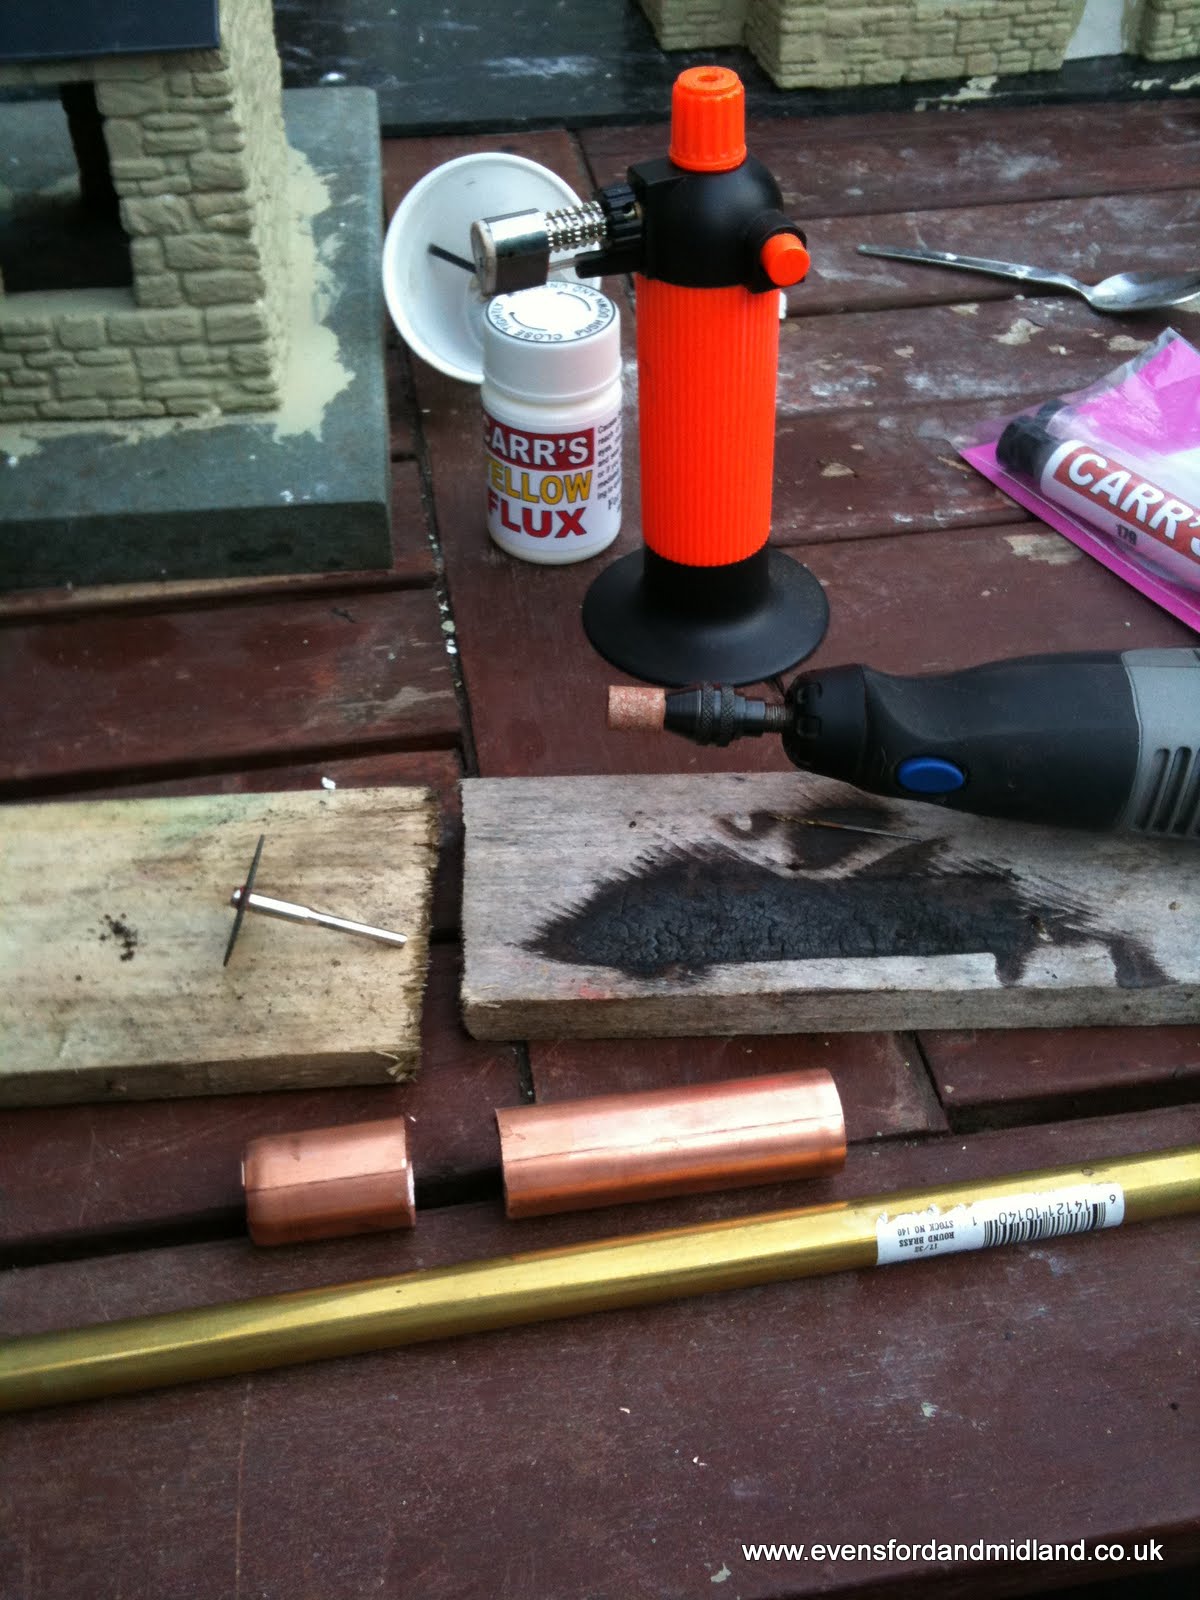 One tube soldered inside the other 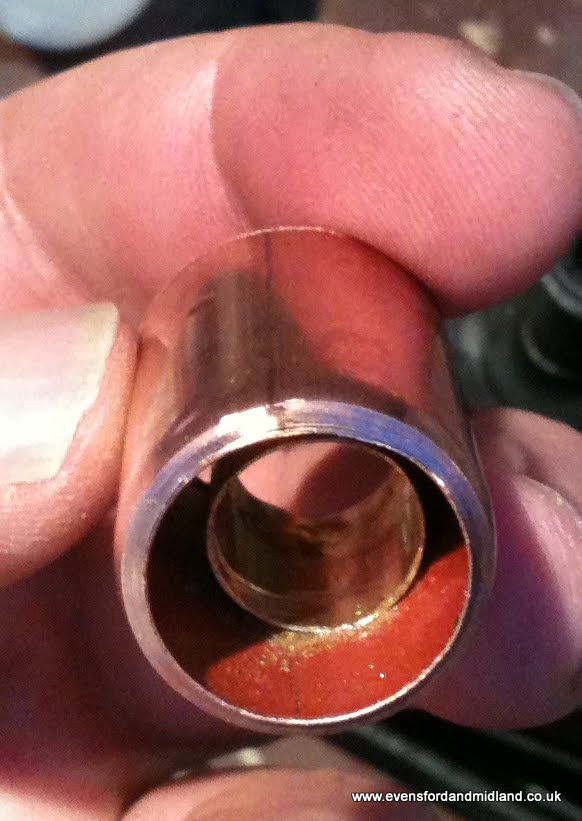 and a little more persuasion with the Dremel forms the bottom to hug the boiler. The top of the tube is conveniently radiused using the plumbing tube cutter. 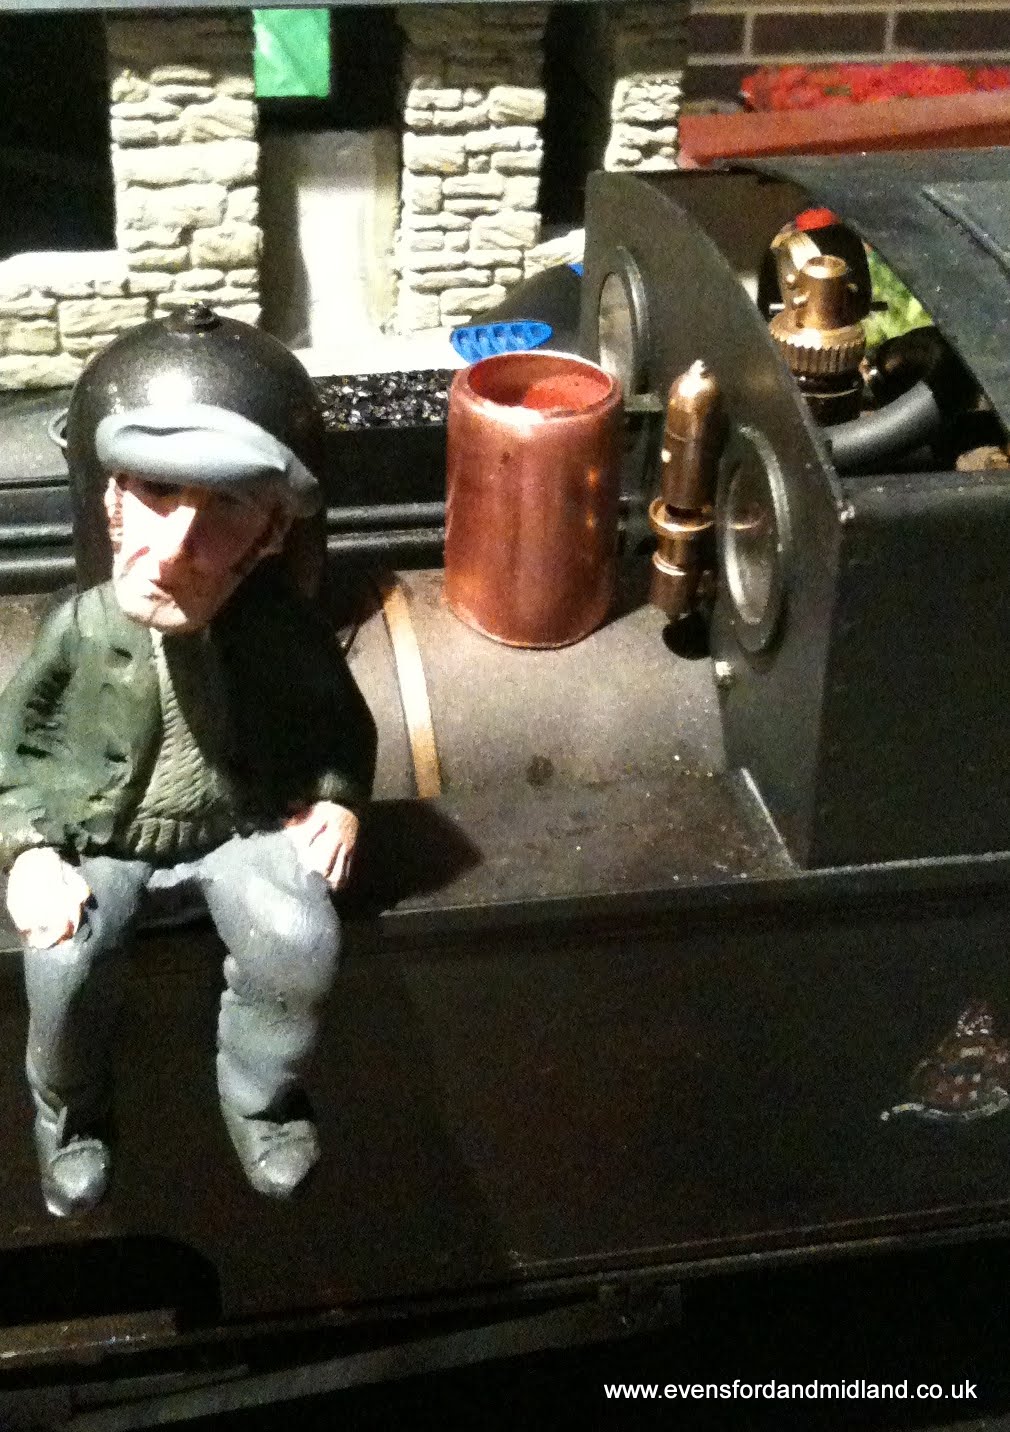 4 July 2010 - safety valve cover and buffer beams bolts The cover now sports a dummy safety valve. Yes, it looks big but it's a scale one from the GVT tram locos. Total cost of the cover, £1.25 for the whitemetal dummy valve (from Essel engineering). I've been umming and ahhing for a while about using Cambrian plastic dummy bolts on a live steamer. Polystyrene has a Glass Temperature of 95 deg C and a Melting Point of 240 deg C. On the basis that water would not tend to boil if on the front of the footplate of Caradoc but it is too hot to touch for long, I estimate that it is at maybe 70 to 80 degrees. This means that the PS dummy bolts will be OK. Being an engineer and not a theoretical physicist, only one way to find out for certain, so I stuck them on. So far, after one steaming, no problem. They remained solid to the touch. The rear buffer beam will be no problem at all. The Cambrian bolt heads were painted buffer beam colour first (only the fronts). 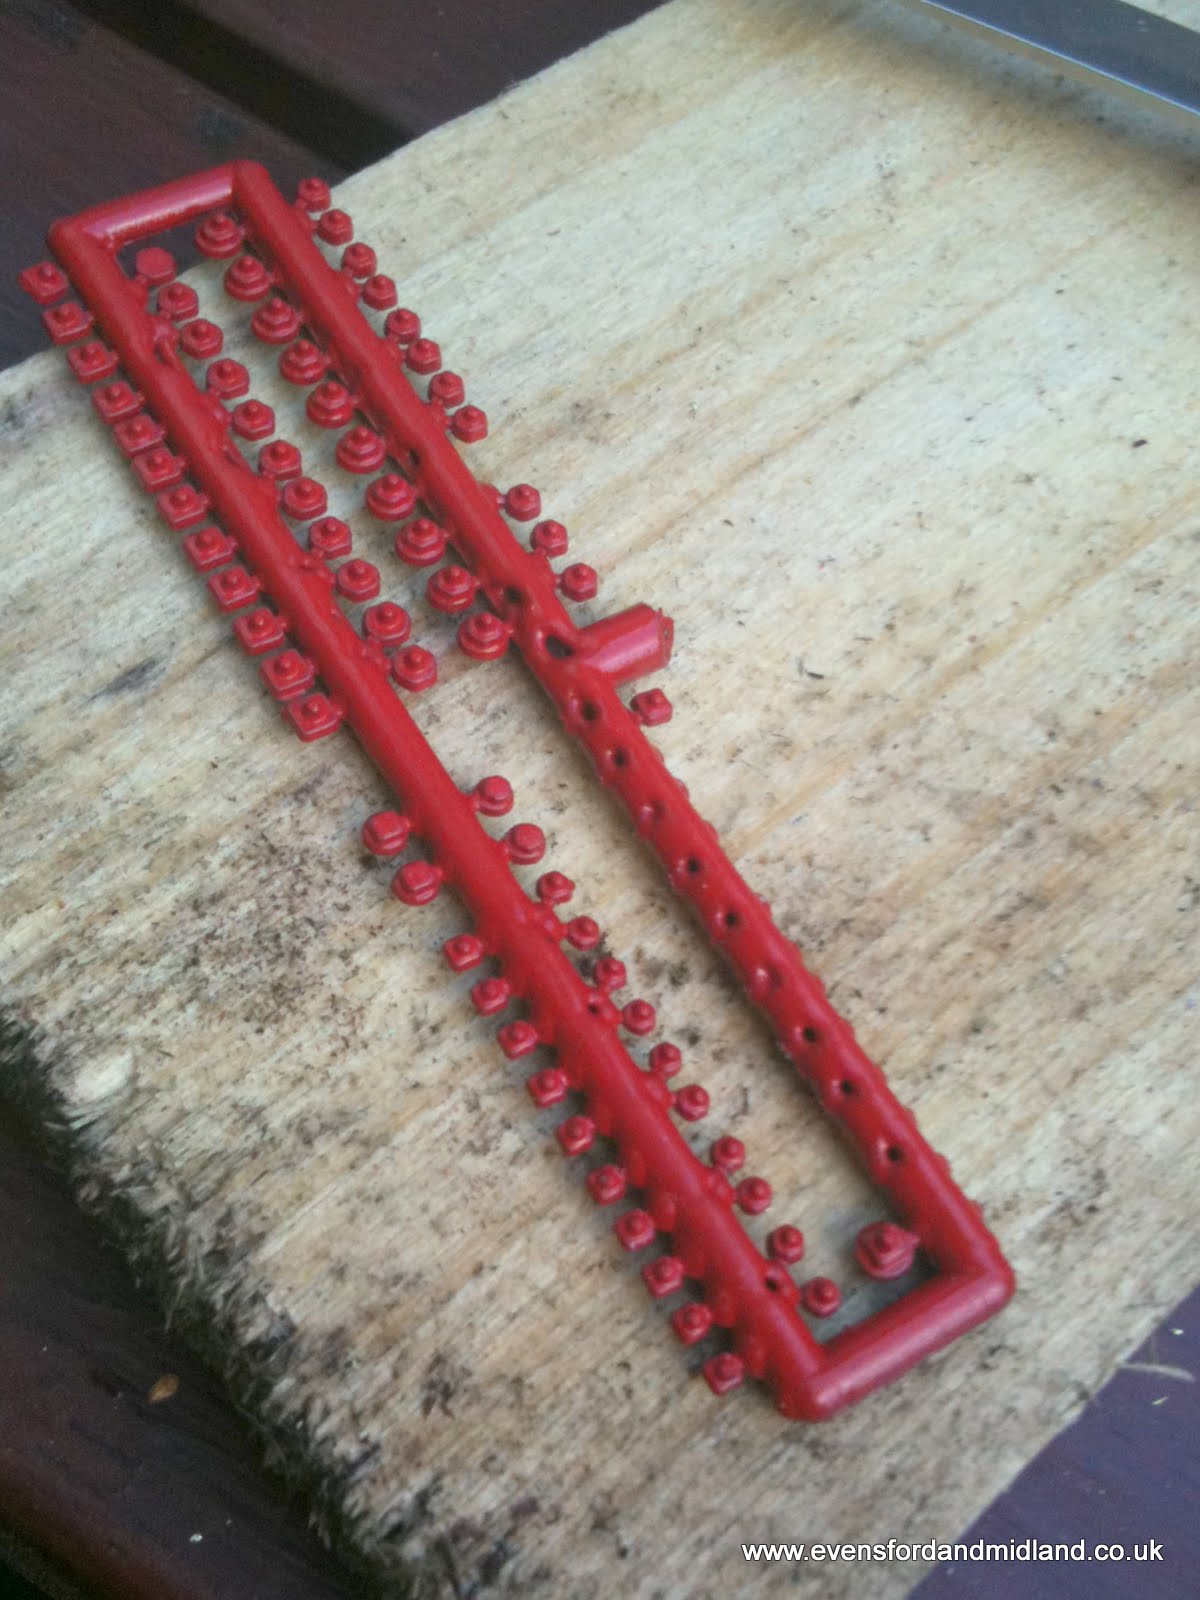 Superglue was used to fix them on. The new thicker superglue is ideal for these situations. Resultant beam is very satisfying and so much better than the Lawley front beam. So much so that the existing Lawley front beam will be swapped to the back and the Lawley will receive the same treatment.  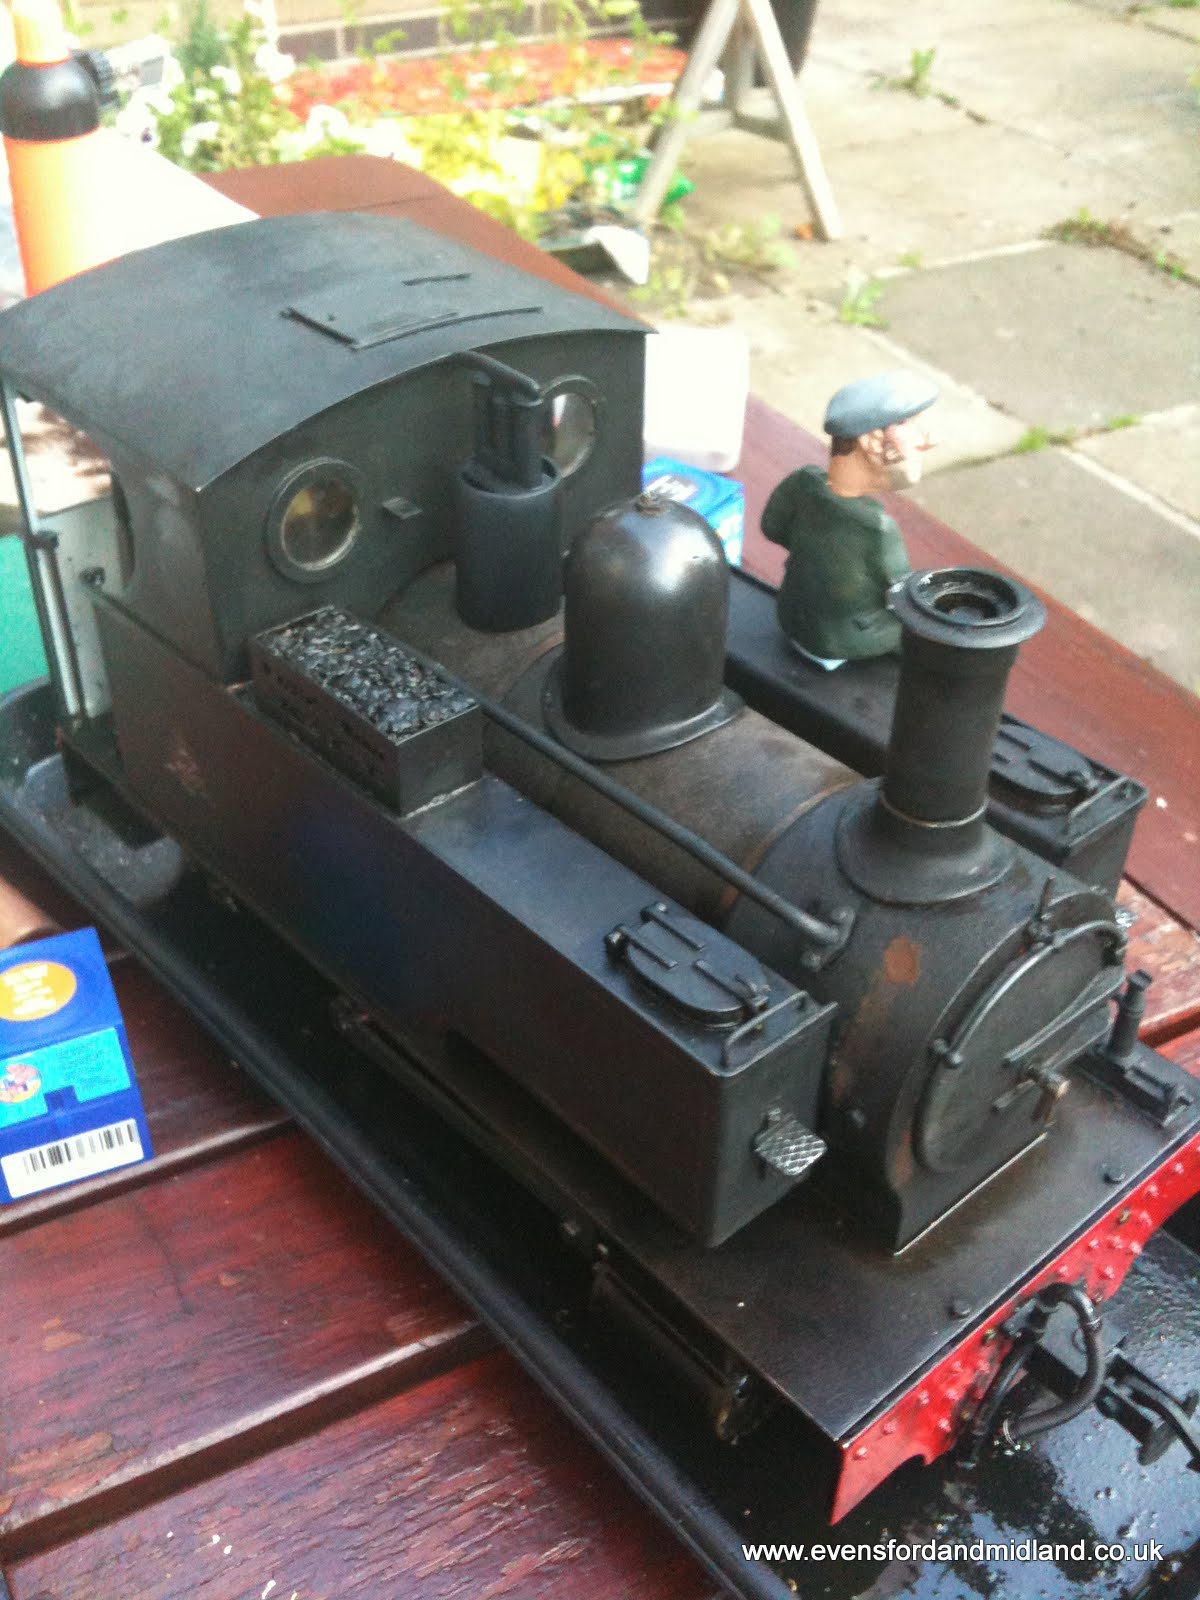 Here is a picture of Caradoc, now EMR No 4, at Short Wood in July 2011. The only cosmetic change is that I have fixed the spectacle glazing in the open position. 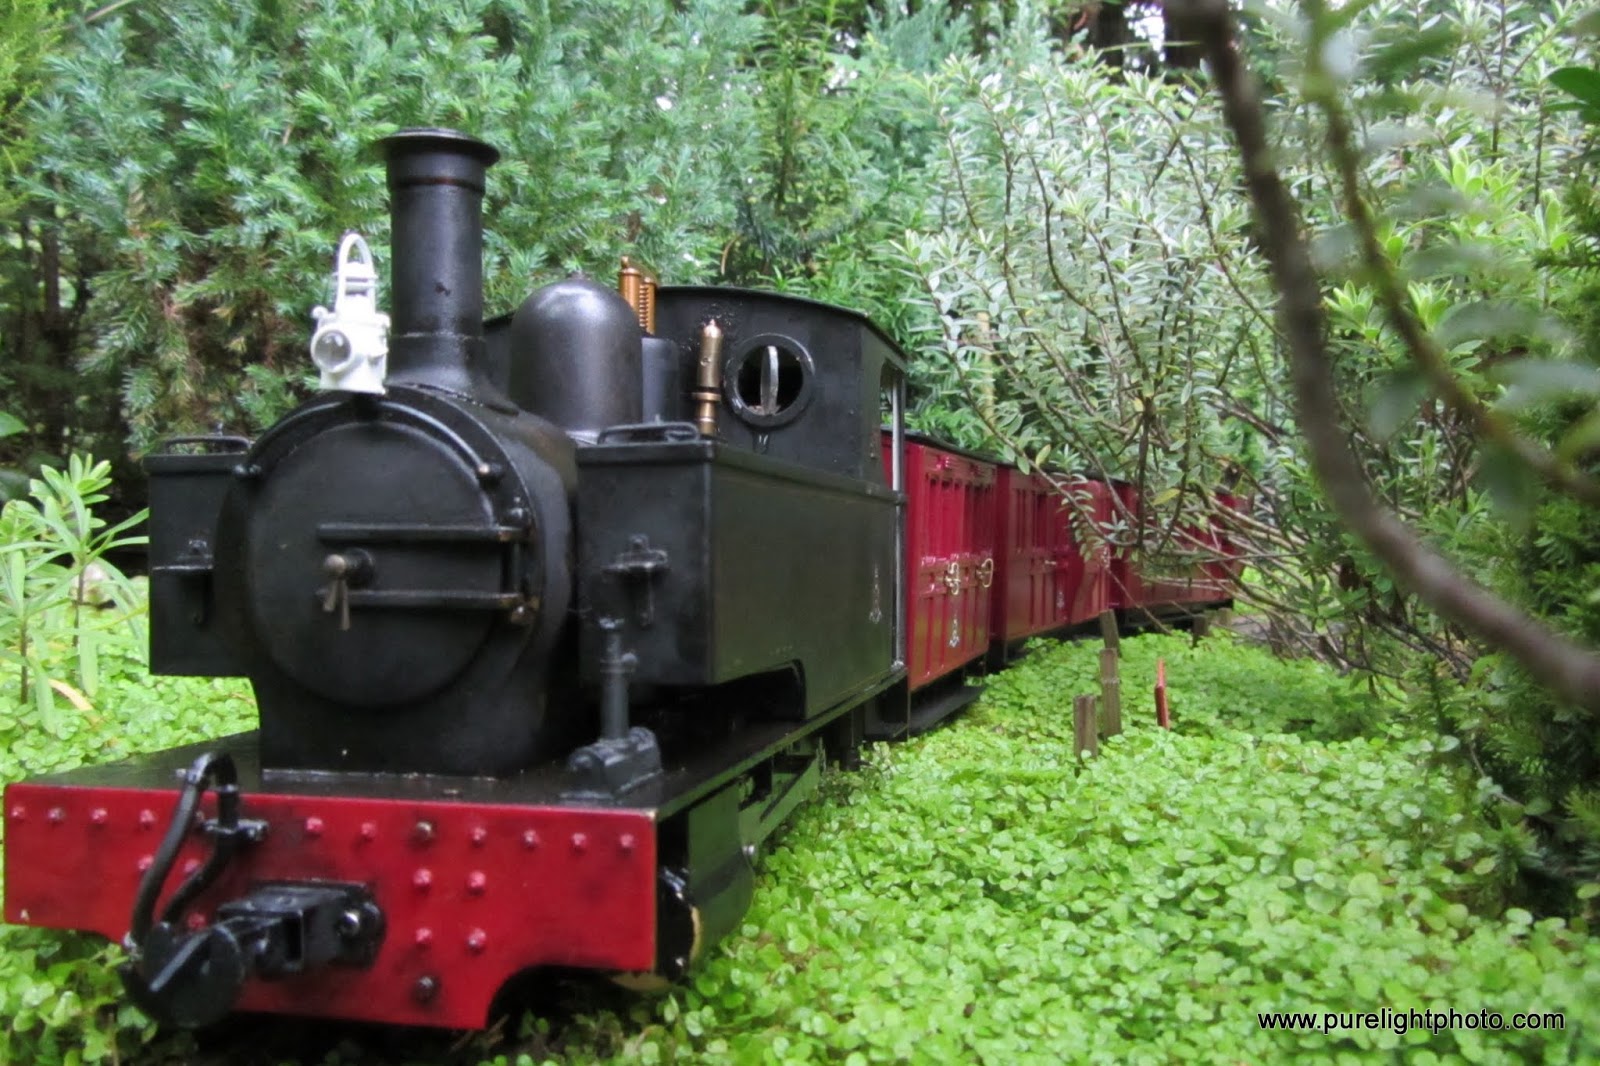 To be continued... |
Locos >