Bob Moore Lining Pen (DP)I am by no means terribly good at this job but I find it oddly soothing and ultimately satisfying. I realise that there are people out there who do a superb job and I do admit that from time to time I wonder if I should use them. Being congenitally mean, I have held back. In adition, I do gather that you may hand over your new unlined loco to a professional painter, only to find you have parted with it for some months.
All I propose in this article is to show the kit I use, pass on the tips I was given by Bob Moore, the man who designed and sell the pens and one or two wheezes that I have discovered along the way. I am not sure that the results I achieve are any better or worse than using waterslide transfers. I just like doing it which is why I bother. First of all, you need the right kit which, for me, is the Bob Moore pen. You can see more about it and buy one from Phoenix paints
 Secondly, the paint you should use is Humbrol gloss, in those small tins and the most vital thing to know is that you thin it with lighter fuel. This also makes it creamy and flow through the tiny hole in the tip of the nib. You clean out the pen between colours or after use with the same stuff and you rod out the tube/nib with a fine wire which, if you are like me, you will lose and replace with fuse wire or a gas jet pricker, as sure as eggs is eggs.
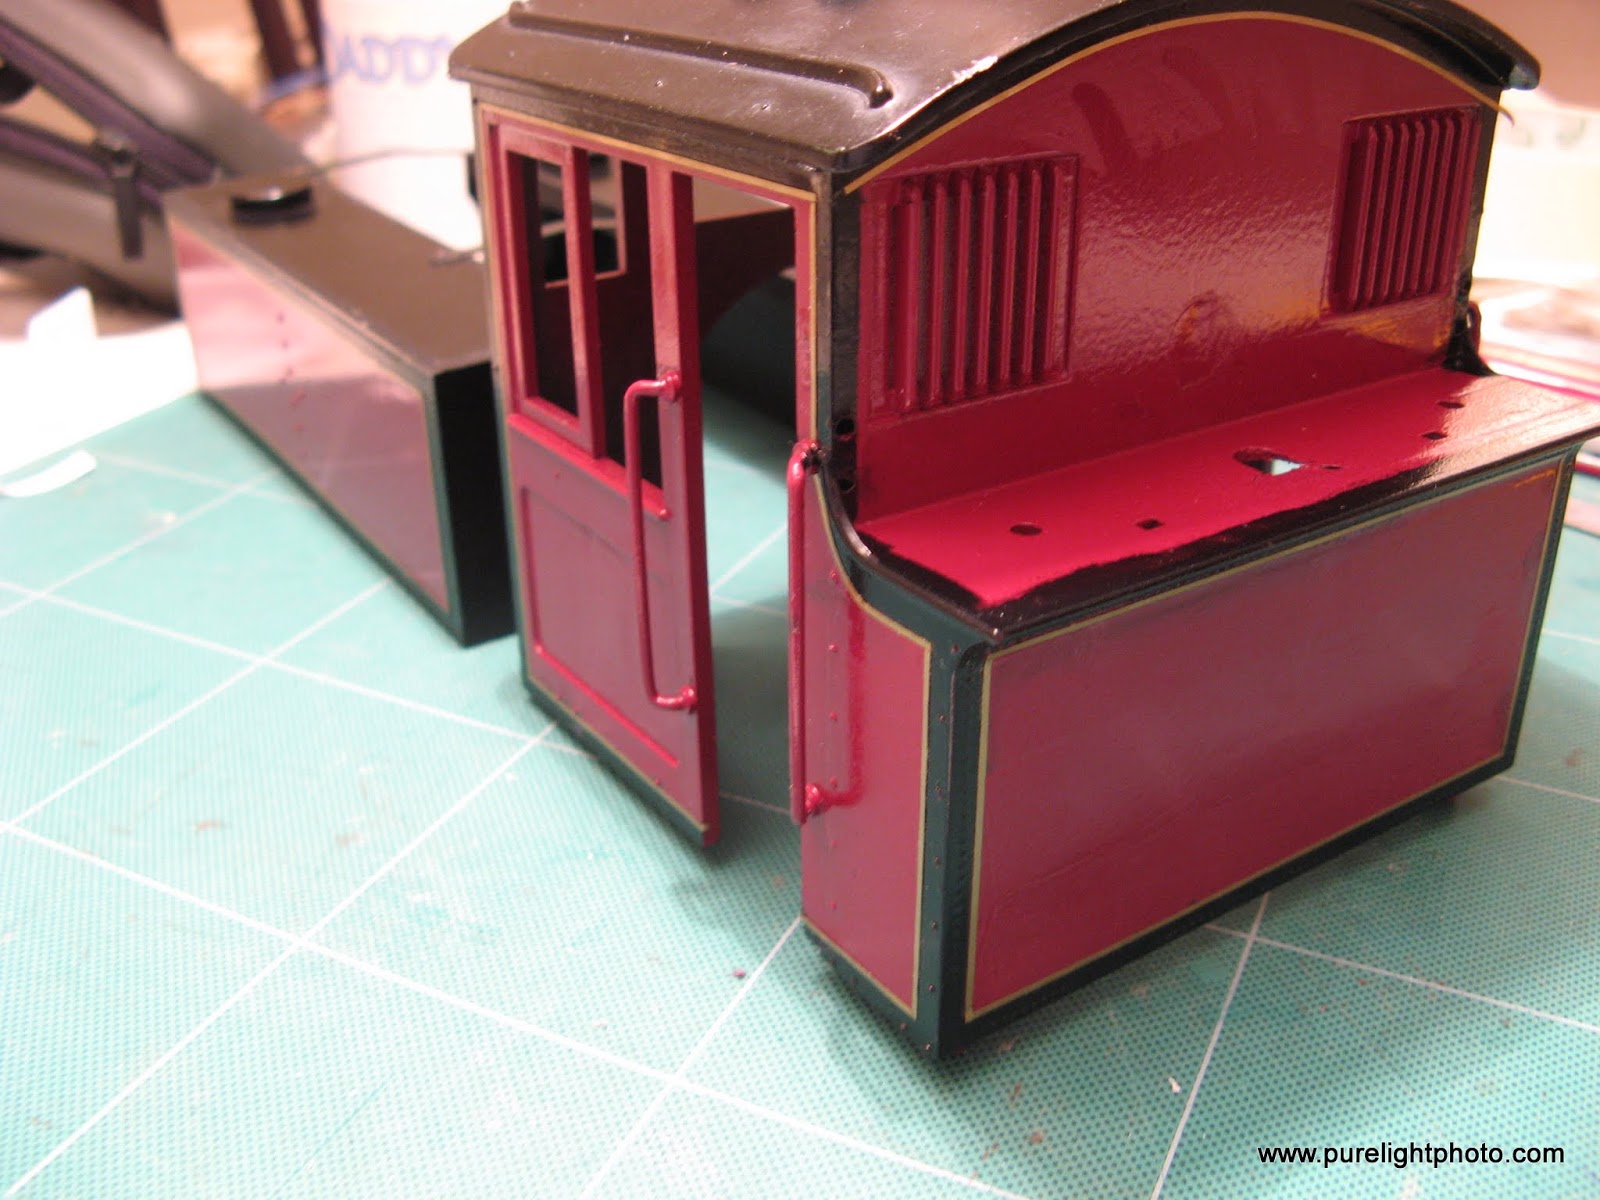
 The nice thing about all this is that when you louse up, you simply wipe the paint away with a tissue soaked in lighter fuel. On the Argyll I am creating a three colour stripe, so I try to get one colour absolutely bang on and then leave it for at least a day before doing the subsequent colours. That way, a gentle wipe ought not to lose the first colour. Even after several more days, if you really must, a good rub with a well soaked cloth will often bring it all back to stage one anyway. If that fails, I suppose there is always T cut or brasso.
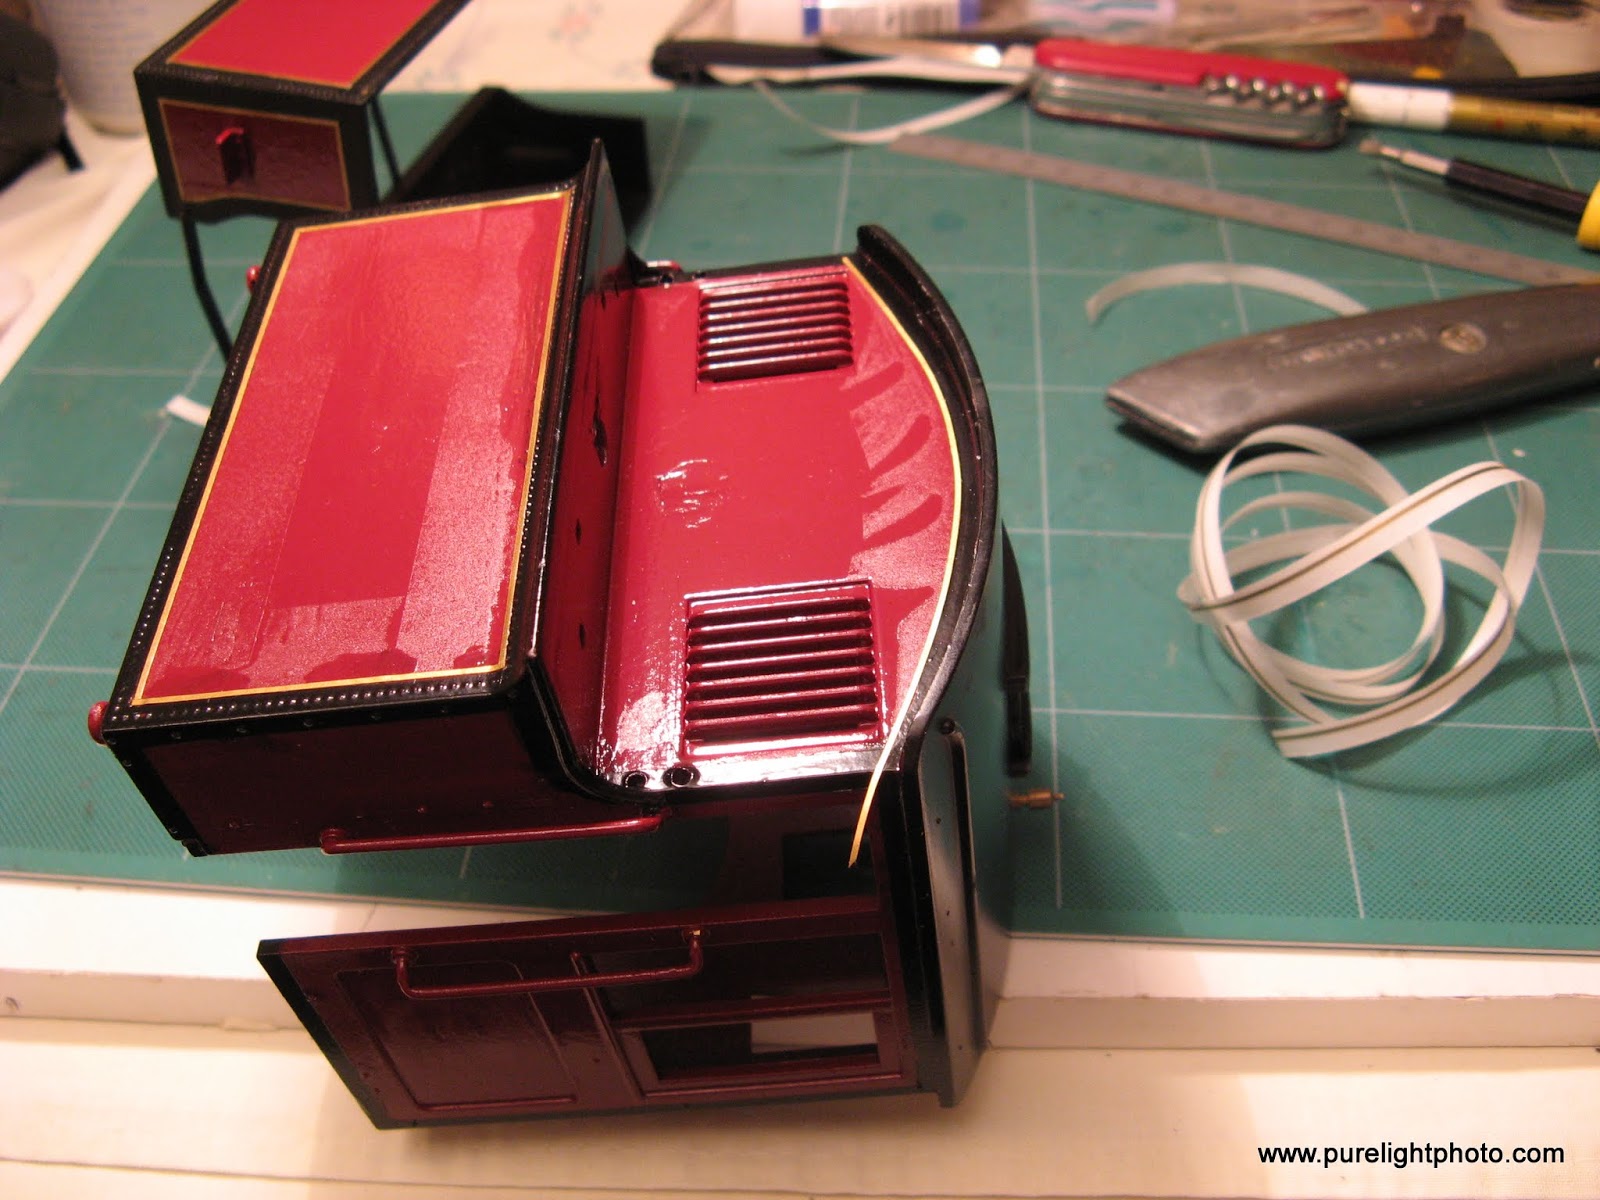
Along with the pen kit come a couple of attachments that are used to allow you to run the pen parallel to an edge on, say the side tank. I found these useless. I've wasted many hours trying to save a few minutes using rulers, plastruct square section and recently even a short piece of brass wire as my ruler. My advice is, forget all those. The only way to achieve the right result is to cut a template out of plasticard making sure the edges are smooth. If you fix that to the area you want to line with two tiny dobs of blu-tak, it holds it both in place and just off the surface. You can then, if you have got the mix consistency right, run a full line all round. This, of course, needs to be the outside line.  Plasticard templates for Argyll Plasticard templates for ArgyllTo make subsequent lines.preferably the next day, you need to position the template away from line you are working to and, although this is tricky, you can at least have a few shots at it before you throw the loco against the wall.
The pen works best if you hold it very lightly in your fingers and set the head at an angle as shown in the picture above. This means that the nib is not vertical. I find it easiest to sight along the lines and draw the pen towards me but sometimes the only way to make a good even line is across the line of sight.
I think it makes good sense to work on one side of a loco at a time not try to be so clever as to attempt to make all the lines in one colour all at one go. In any case, you only put two drops of paint in the reservoir at a time. The second drop stops the first one evaporating so you never get to use it all up. After a while, the paint starts to clog and you can continue a while by rodding the nib from the point end, however, as soon as it begins, you are on a short fuse and you might as well quit while you are ahead.
On the subject of the paint itself, this needs to be properly mixed. The chaps at Phoenix are very insistent that you should mix with a flat spatula as opposed to the end of a paint brush which they say has the wrong profile to mix properly. I use wooden lolly sticks bought in bulk to floor the cabs of locos. I never got round to it, I'm now pleased to say.
It's better to make one good positive line than a broken one you then try to repair. Once it starts to break up, I find it is better to quit and wipe clear. For a while you may come to believe it will never work and you rarely get a perfect line. Don't dispair. You can do a lot of remedial work using the point of a cocktail stick soaked in lighter fluid. This tool is vital when you are creating those radiused corners on a rectangular set of lines. It's worth cutting a radiusing template out of plasticard to get those perfect, particularly the internal ones where the line scallops into the centre of the area. Even when I do this, the joins are often lumpy and need some TLC
 For a simple curved corner, I sometimes used to freehand it then work my cocktail stick to remove excess and shape the curve to the satisfaction of the eye. It was sheer laziness on my part, and you know the old saying? 'Lazy people take the most pains'? Absolutely right. Now, if I want a radiused corner, beit internal curved or external, I cut a single template and ensure that by using the same one on every corner, I achieve uniformity.
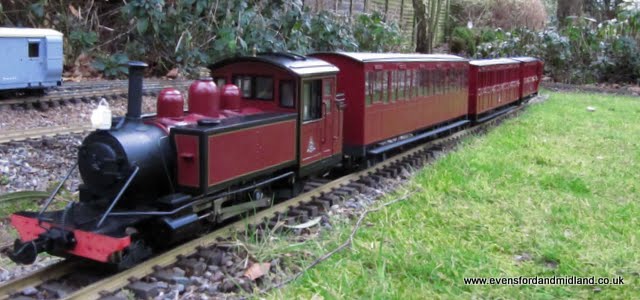
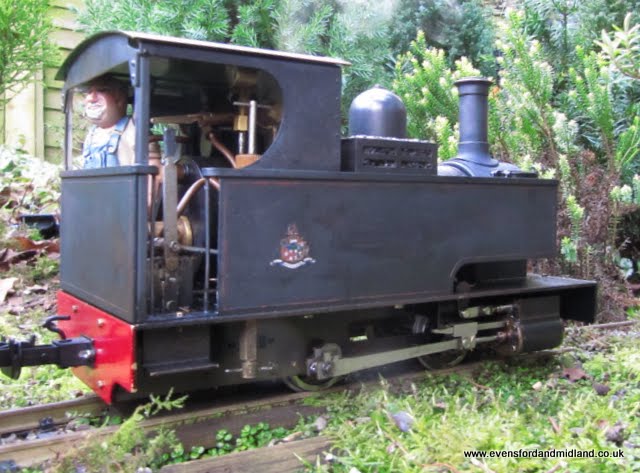
Looking critically at the locos illustrated here, I am mortified that I would have the gall to submit such an article. Beatrice, the RH Lady Anne has taken a bit of a pasting and could use a bit of cosmetic work I can now see. At least you can see what I mean by internal radius corners. As for the Argyyl that I have spent most of the day on, ............well! I was beginning to feel quite happy with the results until I saw the close up. Here comes the lighter fuel! I must admit the three lines were a bit of an ambitious project. I suppose it would pass the 6 foot test but I want better than that.
 Trimline (JSJ)Some use Trimline, a thin self-adhesive coloured tape which is intended for model cars, aircraft and boats. It is waterproof and reasonably thin. It will move if subject to heavy handling but in most places I have found it robust. It does have a thickness and in some lights, this can show but mostly not. It comes in a roll with each of these widths: 0.5, 0.8, 1.3, 2.1, 3.3, 5.0, 7.0 and 10.0 mm and lots of colours. It's around £3 a roll. I cut the thick to increase the amount available as I have never used anything thicker than the 0.5. So I end up with many metres of the thicker widths. Mel has recommended Cornwall Model Boats and their Trimline page is at http://www.cornwallmodelboats.co.uk/acatalog/trimline.html . I usually buy mine from a model aircraft shop and keep some of each colour in stock.
My Lawley and Baldwin are both lined with gold Trimline and Caradoc and Garratt have red Trimline.
Here the Baldwin receives its gold. I masked up to paint the black round the edges first. Yes, I know I put the masking tape on before the crimson lake was hard (but I didn't melt the roof lol). It cut back a bit so is not really visible now.
   The best pens I have found are the Edding 780 pens. www.cultpens.com sell them and also replacement nibs (the 780N, currently about £7 for 10 so very good value). They give a 0.8mm line and are available in Black Blue Red Green Gold Silver Copper or White.
|
Workshop >