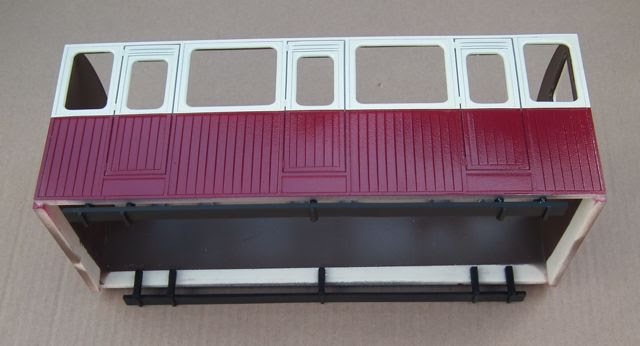
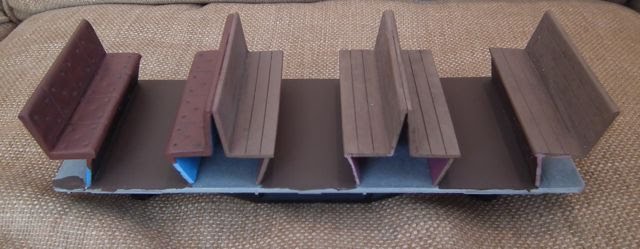
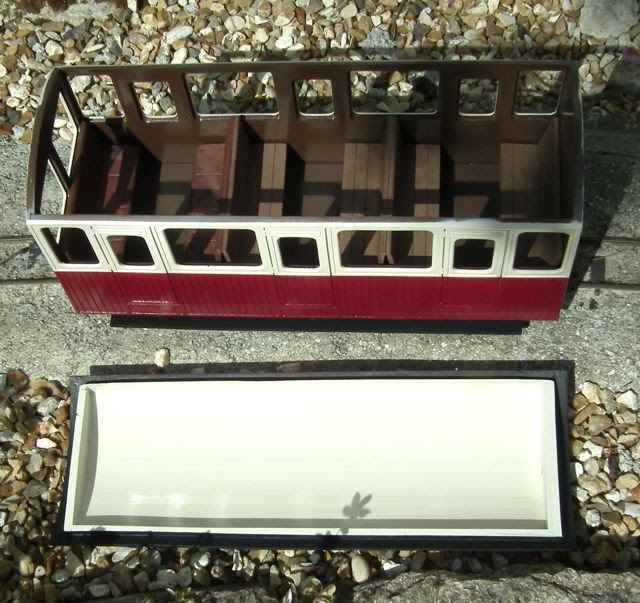
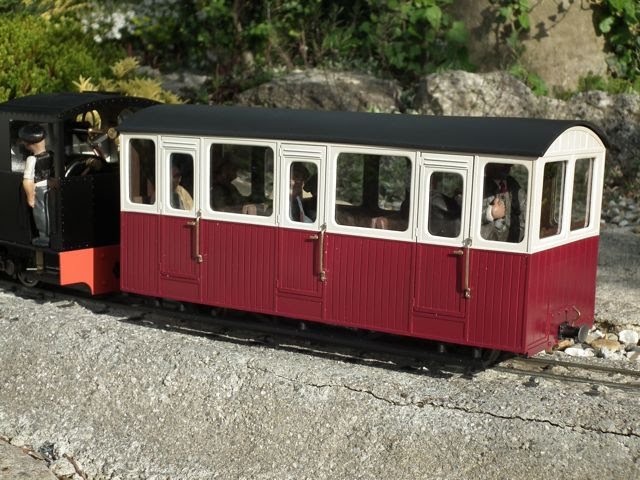
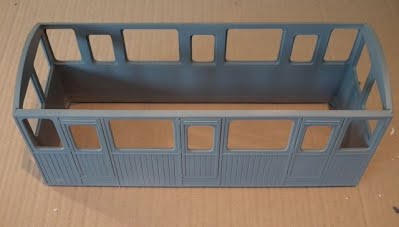
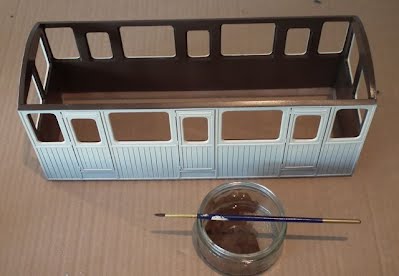
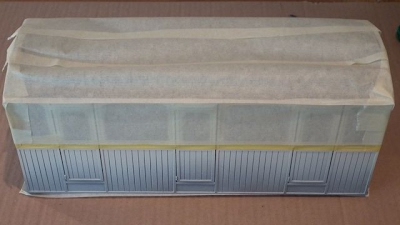
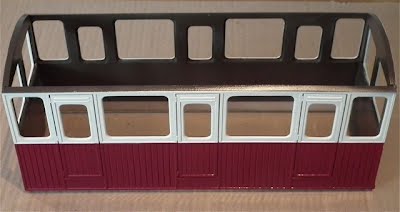
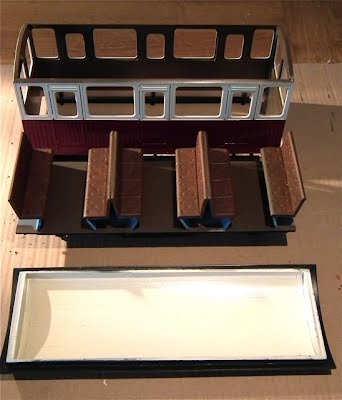
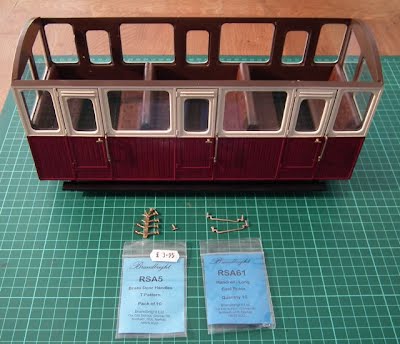
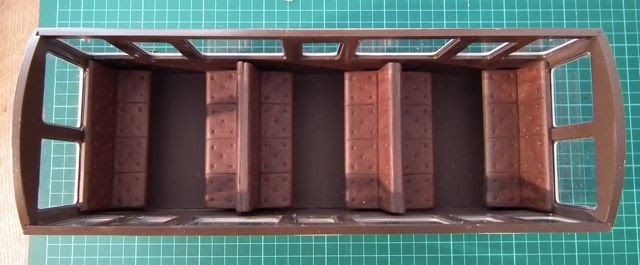
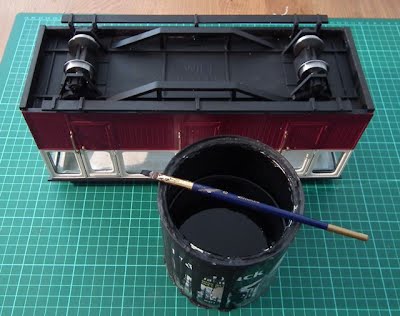
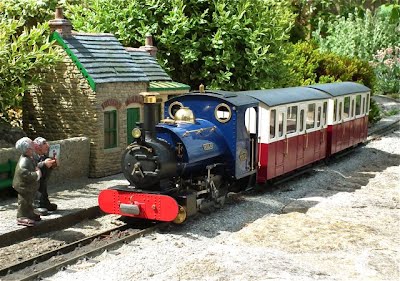
Chris Bird Now I have to start by confessing that unlike most folk in this club, I am not an avid kit builder. In fact I normally prefer to buy ready built or to just make it up as I go along. So when Rob Bushill came down to run some of his coaches on the Summerlands Light Railway, I had no intention of buying any of his Swift Sixteen kits. But the sun was shining, and the short observation coach looked just perfect for a seaside railway…..and…..well you know how it is…….. Photo 1. Here is Rob's coach with my Merlin Mayflower A couple of days later the kits arrived and my first surprise was that the nicely detailed castings were in a tough and slightly flexible resin, not at all as I had imagined. The instructions (which are on the website www.swiftsixteen.com ) are very detailed and walk you though the process with lots of hints and tips….except about painting. Conversations with Rob quickly revealed that there are lots of ways to paint a model such as this and it is down to the builder to decide on their preferred method and paint (which is the same for most other kit makers I gather). So what follows is my way. It is simply the way I did my first coach and if it changes for the second one, I will let you know! My first decision was that I wanted to paint the inside to look like dark, varnished wood and, as the windows are glued in at the end, this paint needed to cover all of the inside of the window recesses. The instructions said that the floor, which is also the chassis, needs to be glued in before painting, but I realized that this would prevent me from spraying the recesses properly, so I decided to deviate from the instructions. In fact my first deviation was to use a good quality clear, rapid epoxy instead of superglue which I dislike intensely having firmly glued myself to the workpiece in the past. My second was to make up the four sides as detailed in the instructions but to delay gluing in the floor (incidentally it really is ESSENTIAL to read the instruction even if you are going to deviate). When this was set and rigid, I offered up the step/floor supports and marked where the floor would be glued. I then masked along this line round the inside of the coach and sprayed it all with grey primer – inside and out (yes I had washed it first). I then gave the inside three coats of Rover Maple acrylic car spray, making sure that those window recesses were well covered. There is no question of oven baking this paint on resin, so it was left to dry in a warm place while I made up the chassis. The main part of the floor needs trimming to size and for this I used a bench linisher (belt sander) and then finished with coarse sandpaper on a flat surface. It sounds difficult but it isn’t. Assembling the axle holders, dummy axle boxes etc. is a piece of cake and before gluing in the wheels, I masked their slots and sprayed all underneath with primer followed by matt black. I did not paint the top surface at this stage. The seat pairs were glued together and then all of the seats were painted with water based Revell acrylics. I mixed a lightish brown for the wooden seats and a browney maroon for the buttoned, first class seats. I now ready to paint the outside of the coach and has the seriously tedious job of masking every window opening from the inside. When this was done, I masked in the top and the bottom of the body so that it was a sealed box. Using wide masking tape this is the work of a few moments. I then sprayed the outside with Ford Ivory acrylic car paint and as soon as the final coat has flashed off, I removed the masking as set it aside to harden. After an hour or so in the warm, I masked up for the Ford Burgundy Red lower panels. For the join I used the superb, but expensive Tamiya masking tape. For the rest I used some from Aldi which turned out to be low tac and high quality. I asked all of the ivory and the top and bottom of the coach again before spraying the burgundy. Again, I removed the masking as soon as the paint was touch dry. I have to admit that I was pretty pleased with the results and while that was drying, I trimmed up the steps and sprayed them matt black. I was then able to glue in the axle tubes with wheels and check that all was square. Photo 2. Wheels fitted to the sprayed chassis When the body was dry, I scraped the paint off the part of the floor supports to be glued and glued them into position on the coach sides. I needed to clamp them with my chosen glue. After that I could drop the chassis/floor unit down into the coach to sit on these supports. Photo 3. The masked line round the bottom of the sprayed body. At this stage I cleaned any paint off the bottom of the seats, put a line of glue on and eased them into position. I have to say that I was glad my glue gave me some time to align them correctly! When they were stuck, I removed the chassis/floor unit again, through the top of the coach, and painted the floor between the seats with the Revell water based, matt acrylics. Photo 4. The seats painted with water based acrylics. With that completed, I was able to put the
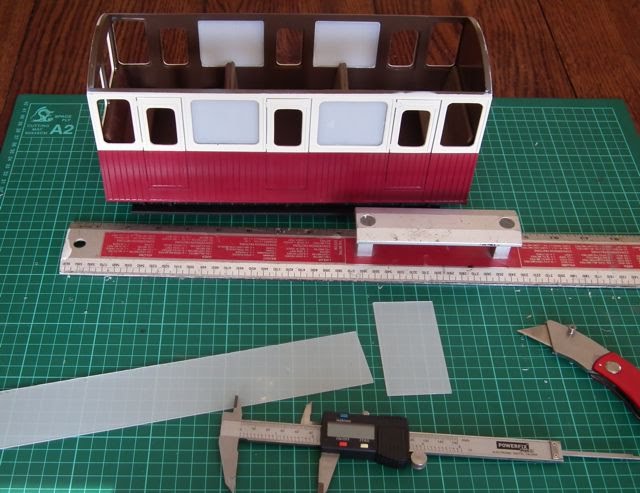
completed unit back into the coach and glue it with the epoxy. I brush painted the remaining white resin with water based matt black acrylic so that all looked tidy underneath. During one of the paint drying periods, I sorted out the roof. After removing the flash and tidying it up, I sprayed the outside with a convoy grey bumper pain that I just happened to have. Rob painted his silver, but matt, black, grey or cream could also look nice. It really depends what you fancy. When in position, the inside all looked a bit dark, so I sprayed the roof inside the coach with the Ford Ivory. Photo 5. The interior and roof before fitting the windows. When it came to the windows, I have to
admit that I did it the hard way, and measured and trimmed each one. Rob tells
me that I should have cut strips the right height and then offered the strip up
and marked it before cutting. In fact, for the second one, I shall cut the
windows before I glue the sides together. This will be dead easy and much
quicker. I fitted the windows with a small dab of clear silicone in each corner. Photo 6. Fitting the windows - they come covered with protective film on both sides Having seen Rob's coaches I followed his lead and bought Brandbright door handles (RSA5) and long hand rails (RSA61). The former were nice clean castings, but the hand rails need quite a lot of cleaning up with fine files and emery before polishing with a fine rotary wire brush. Drilling holes in one’s nice paintwork was a bit daunting but I found a small pin vice to hold a 1.5mm drill made it an absolute doddle. This resin really is nice to work with! So there it is – I really like the two tone
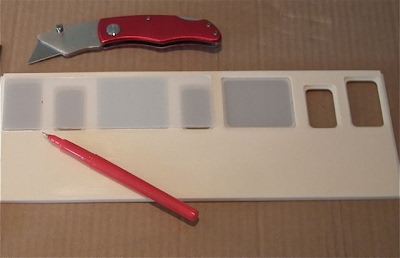
colour scheme, but think that the inside is probably a bit too dark. on the other hand it is supposed to be dark varnished wood...... Now all I have to do is make the next one! OK so I have now built coach No 2 and have tried a slightly different approach. The first job is the same - cleaning up the excellent resin castings is a few minutes work with a chisel and knife. 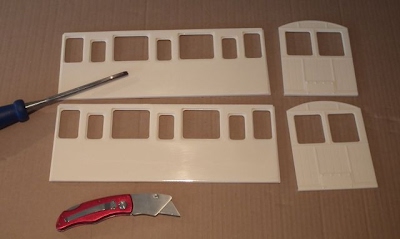 However this time, I cut the windows out first. With a stip of the acetate cut to the right height, the corners were trimmed off and offered up. The film was marked and the window cut by scoring heavily a lot of times. It needs to be nearly through before snapping. All the windows were cut and numbered - it took a fraction of the time needed to do it at the end.  The widndows were removed and put aside before the four sides were glued together on a modelling board - it needs real care to ensure it is square. Then the chassis/floor was trimmed to size and the strengtheners glued on. Here the epoxy is shown and the disposable mixing bowls - milk bottle tops. 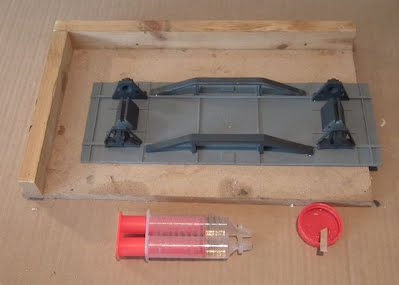 The line round the bottom was masked to allow the steps to be glued to resin, rather than paint. The body was sprayed with grey primer and allowed to dry in the warm. Then the windows were re-fitted and propped in place with coffee stirrers cut to length. The end windows were a firm fit and didn't need it. The seat pairs were glued at the same time. 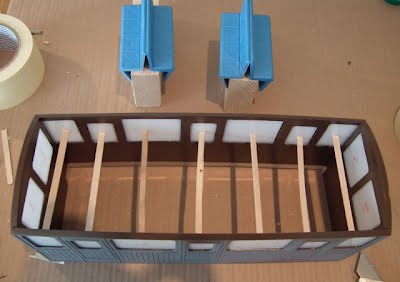 The Ford Ivory was then sprayed on after masking the top and bottom openings. The window masking worked pretty well, but a little touching up was needed using some paint sprayed into a jar (or aerosol lid) and allowed to thicken, The Ford Burgundy red was then sprayed. These coulours need more coats than you think! Not too bad though and much time saved by using the windows As before the seats were painted with acrylics before being glued into place. This is done while the floor is fitted temporarily in place, resting on the step supports (not shown here). The roof was sprayed with Convoy Grey bumper paint with the inside Ford Ivory. Once again the Brandbright fittings were used. It would be possible to make a simple jig to bend some handrails The handrail castings need a lot of cleaning up. I used a fine file, emery and then a wire brish on a mini drill 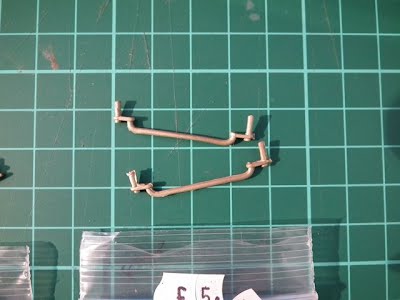 The completed coach from above - the mottly finish on the seats was intended to look like leather One final job was to touch in underneath where it had been masked. I use Wilkinson's Matt Black acrylic which is superb. I also use it as a mixer with the Revell acrylics. And so to the railway to put the two coaches behind Katie The whole build was completed in about ten hours - but at least an hour of that was on the handrails and handles. With hindsight, I should have let the paint dry for longer - ideally overnight, before working on the body . I discovered this when I paid the coach on its side, with the "dry" dry paint on kitchen towel, to glue the steps in position. I used weights and managed to emboss the soft paint with a towel pattern! A very quick dash to the paint shop, re-masking and a "flood" coat, while laid flat, blended it all back in - pretty much without trace. Phew!!!! This has also given me another slight problem as this coach has had more coats of red than the first one and the colour is slightly deeper........... The first one is faded by sunlight I will say..........;-) |
Wagon & Carriage >


