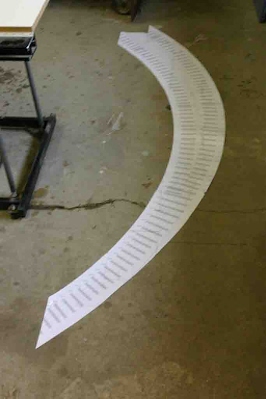
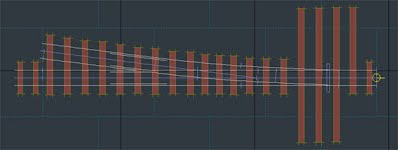
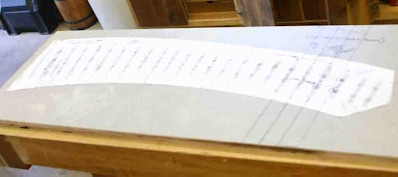
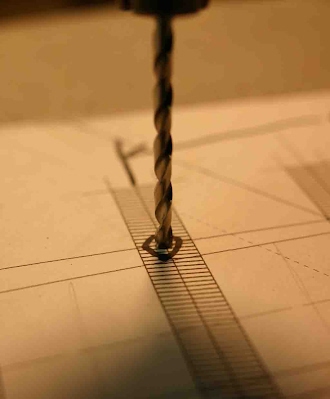
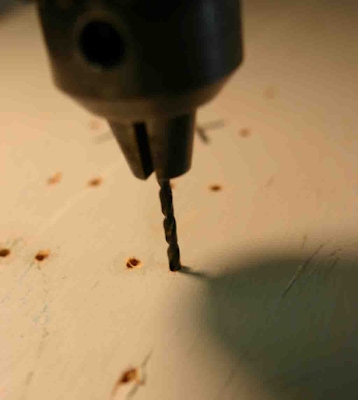
by Zoë TopperIn the following article, I'll attempt to explain the method I use to construct points, using milled wooden sleepers, Tenmille chairs and Bullhead Rail. The fist part of the process, is determining the size and shape of the points needed. I use a program called TEMPLOT, designed by Martin Wynne. This is a fascinating tool for designing railways. It allows you to make sections to represent 'ready track' or build from a spline section, bending and building as you desire.Here is a screen shot from TEMPLOT, of the WPB_PL-N points I'll be constructing herein. This is printed out on 27 sheets of paper, trimmed and taped together to form the pattern for track building..., A PDF of a No. 8 Straight points is available at this link, should you wish to build along.The Gauge of the Printed PDF should be 34mm between rail centre lines. This will provide a rail gauge of 32mm with Tenmille chairs. http://NGTmodels.com/NGT_Stuff/No_8R.zip The needed portion of the pattern is mounted to a piece of 3/4" MDF..., ....the places where chairs will be used are marked and drilled through. This is done, using a Brad Point Bit, to assure the exact position on the line is drilled. Then the proper length sleepers are glued in place with water soluble glue..., 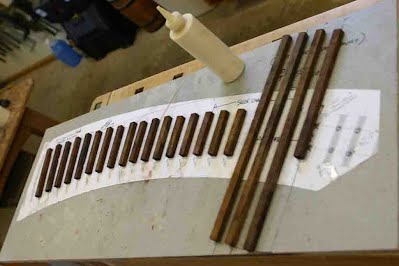 ....once dried, the MDF is turned over and the holes used as guides back through the pattern and the sleepers on the top side. This is done, using a 2.9mm HHS Twist Bit, as it's easier to hit the hole with it. Now we have a pattern, sleepers drilled and ready to begin building. Over the years, I've collected a lot of tools to help with trackwork. One of the best are these sprung tubular gauges from C&L Finescale..., wonderful. Another are these two old KEMTRON 'O' gauge 3-point gauges, which I widened the gaps for the rail head. 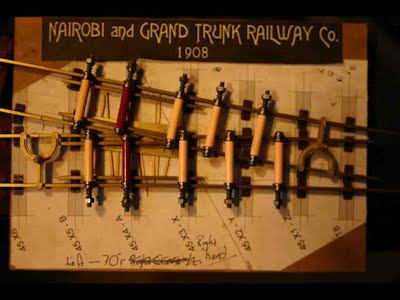 3-point gauges have the built in ability to widen the gauge as you enter a curve, providing you keep the two point side on the outside of the curve. Now, with the pattern ready for construction, lets begin with the stock rails. Slide both inside and outside stock rails through the chars along the full length. These are needed to hold gauge through the 'V' crossing as you build that up next. Next, the inside rail for the 'main route' (in this case, the inside path) needs to be slid through its chairs. It's a good idea to impart the correct curve into this rail, to keep the unsupported end in alignment while you're building the 'V'. With a piece of cloth in your hand and your thumb against the web of the rail, pull the rail through your hand..., applying pressure with your thumb little by little till you have the proper curve set in. Slide the rail through the chairs, across the 'V' and into the first two chairs on the point rail end. Now do the exact same thing with the inside rail on the divergent path, bringing the rail up against the first one. Mark the angle this rail intersects the first at and withdraw from the chairs. Now comes a little cut, fit, file and solder, and here's where the gauges come in, and the outside rails. Everything 'must' be in gauge, and in place if you're to have any hope of keeping things on the rails. Here we have the rail from the diverging route milled to meet tight against the rail of the main route. The Main Route rail is always used as the base rail. I shine a small light on the pattern, under the joint to see if there's a gap, and work it till there's none and the fit is square. ....and here is the set-up for soldering. The 0.005" brass shim will become part of the assembly once finished, and will be trimmed to the rail bottom all 'round. The 'paper' under the main rail is to prevent it from becoming soldered to the shim, as it will be cut off to form the point of the 'V'. The cardboard under keeps the shim tight against the rail bottom. The RED gauges are from C&L, and have been modified to 'push only' against the rail head, there is no outside edge to interfere with close setting. Here is the 'V', soldered, cleaned and ready to trim along the red line. |
Workshop >

