|
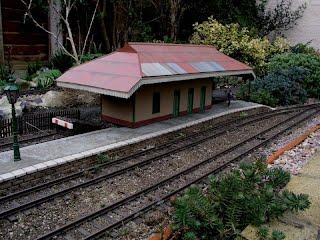
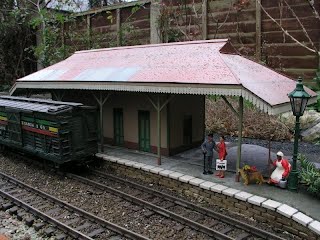
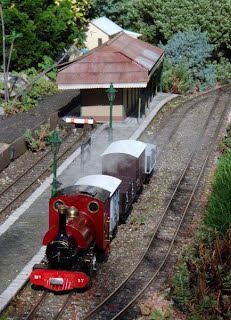
by Philip Brockbank This article describes how I made my station building using mainly stuff that I had to hand. As such not all the materials used would be the very best choice but they were readily available and mostly free. The building has survived three winters so far and has been durable except for one major hiccup which we'll come to later...why make your own mistake when I've already made it for you...
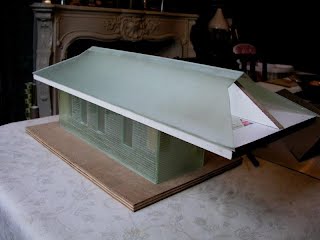
My previous station building was a GRS 'Caersws' design made from resin. This served well for several years on my old loft layout then for another few years out in the garden. After a while the building started to warp and twist so I squirted a load of 'no nails' adhesive inside the joints to try and hold it together. Note the banana shaped roof in the pic below:
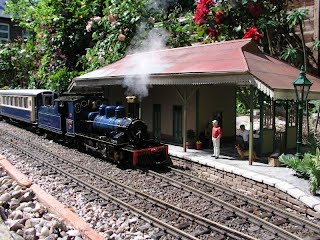
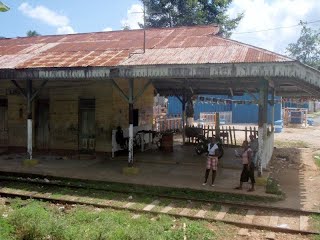
It had self destructed during the night and has since gone to pastures new. For some time I had been attempting to morph my line into 'somewhere in Jamaica' so this was my chance to make an authentic Jamaican station building. A search of the net revealed precious little but I was taken by this solitary low grade image of Linstead station that I found on the Jamaica Heritage site:
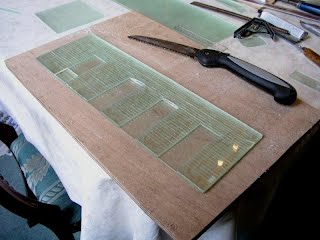
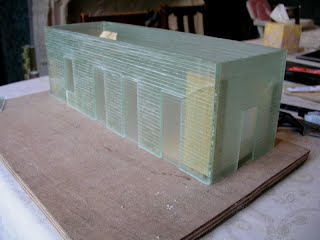
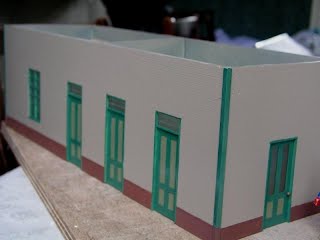
I guesstimated the dimensions based on the door height and started cutting out the bits from a large sheet of clear acrylic from an old shop display. The walls were made of a double skin. The inner layer is mostly hidden except for the doors and windows. The window and door openings were cut in the outer layer which was scribed as planks and dragged with a saw blade to give a woodgrain effect:
The stuff was brittle and a pig to cut but it was free. You can see some cracks but these didn't effect the strength because the inner layer is complete. When all the bits were cut the layers and corners were all stuck together with evostick impact adhesive. The corners were strengthened with bits of wood glued to the inside.
The bits for the roof were cut out next. Unfortunately I did not have enough acrylic to do the whole job so I used some melamine coated chipboard from an old wardrobe for the base and inner supports. It's used for kitchen cabinets so I reasoned it should be o.k hidden away and nicely protected from the elements...
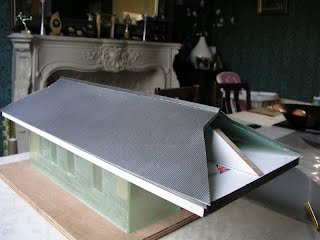
The roof needed to look like corrugated iron. I considered using individual bits of crimped ali or baked bean cans but I wasn't sure how durable that would be when permanently outdoors. I had noticed that my local DIY shed stocked nice sheets of finely corrugated aluminium, large enough for the whole length and width of the roof to be made in one piece, which was folded down the middle and glued onto the acrylic base. For appearance a length of steel angle was glued along the ridge.
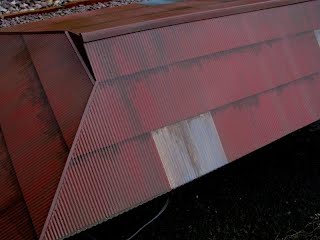
The roof on the real building is painted red so I sprayed the model roof with red oxide primer. I needed to somehow suggest separate sheets and some unpainted replacement sheets so I set to work with a small brush and humbrol enamels to give this effect:
The roof was then sprayed with a few coats of matt varnish to prolong the life of my handywork.
Plastic valance trim from GRS was stuck to the edge of the chipboard roof support and painted.
The canopy supports were made from rocket sticks. I pondered on how to get the supports to sit nicely on the platform with no gap at the bottom. In the end I fixed pins to the top of the posts that fit loosely into holes in the underside of the roof so that they can be adjusted to sit properly.
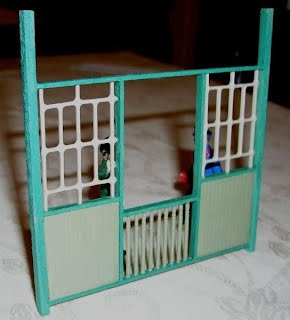
The photo I had showed some sort of screen at one end of the building. The details were not clear so I raided the bits box and made something out of some rocket sticks, some bits of cutlery tray from an old dishwasher and a few fancy cocktail sticks:
The finished building looked good for a while but after some months it became clear that water was getting in under the roof and blowing the chipboard. After a year it looked like this:
Also, a corner of the roof had become detached and was curling up like Aladdin's toecap. Unsurprisingly I tried to avoid this being too visible in photos I took at the time but you can glimpse the unhappy state of affairs in the background of this shot:
I ended up having to strip the covering off the roof and refix it to a new base made from waterproof ply rather than chipboard. Not wanting a repeat performance I sealed all exposed edges of the ply with plastic channel and copious quantities of paint and glue. The moral of the story is: if you want your building to be waterproof, make sure that all parts of it are made from waterproof materials, even the bits you think that dampness will never reach.
Anyway, all is well with it now and 18 months ago we finally managed to visit Linstead and see the place for ourselves. It's badly in need of a coat of paint and is currently used as a bar (there have been no passenger services since 1992). Here are my wife and a friend on the platform.
|
The Landscape > Buildings >

