by Shawn Viggiano
There are 3 phases in building the railway. Phase one started in late March 2008. I was on a tight budget when building the railroad. That meant I had to recycle as much material as possible. Sometimes I like to refer to my railroad as "the low budget railroad" I started with about 50ft of Aristocraft sectional track. Since I was using sectional track I was limited to a few track plans. I spent the winter, in between snowstorms, laying the track out in different patterns out in the yard until I came up with something that pleased my eyes. The first step was to start removing the grass. This part of the world is well know for rocks, thanks to the last ice age. You cant dig more then a few inches without hitting a boulder. Little by little, I eventually had the area cleared out and enough rocks to build a house. When building the layout I had a few requirements that had to be incorporated into the layout: Mountains Tunnel S curves one long straightaway trestle siding

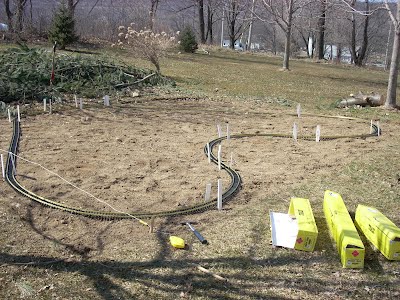
Above photo is the track laid out after the grass was removed Once the area was cleared the next step was to level the area. Its amazing what looks level to the naked eye in reality, really is not level. I had to dig out the backside of the layout and use that dirt for the front area of the layout. The rocks that were dug up were used as a retaining wall. Eventually I got the layout as level as it would get and it cost me $0. Leveling the layout Once the layout was level, the fun part began, laying the track out. I wanted to lay the track down as simple and as cheap as possible. I used the floating method. I felt it looked the most realistic and would handle the harsh conditions in the area. I started out by digging a 4-6 inch trench. Then I poured stone dust into the trench and tamped the stone dust down until it was packed down. Then the track was laid on top of the stone dust. More stone dust was added over the tracks. Once the track was leveled the stone dust was brushed in-between the ties. Then everything was sprayed with a water. This helped secure the track in place. The dust acts like a weak cement holding the traks down and the small stone floats up creating a realistic looking train ballast. During the track laying process I added a tunnel in the area that would cut into one of the mountains. The tunnel was constructed with cinder blocks and the top was made from some patio block that I had laying around. Tamped Ballast and tunnel construction |