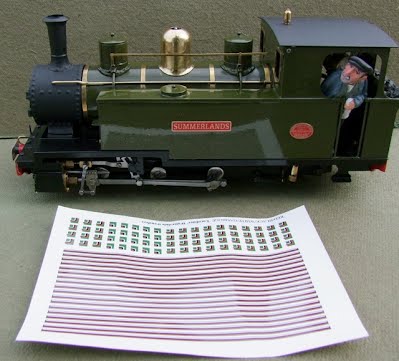
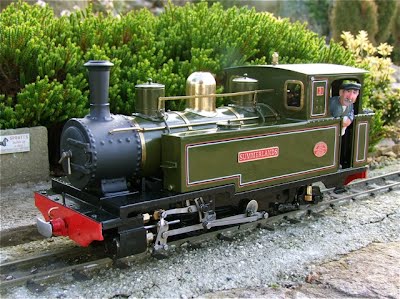
Here is a brief account of my experience applying Locolines tranfer lines to a Roundhouse Argyll. Locolines is at www.locolines.net PreparationLocolines standard transfer lines come with a choice of two colours separated by the approximate loco body colour. The normal price is £10, but for an extra £2 you can specify your own colour for any of the three lines. The set of three lines is bordered by the approximate body colour of the loco. I ordered thin red/thick black/thin white with the gamboge body colour. Postage was £1.50 giving a total of £13.50. When the lines arrive, it is a bit of a shock to find that your money has onl bought you an A5 sheet, but I can assure you that there are a LOT of lines on there! The lines come with a close typed sheet of instructions - it is well worth reading them - though I did a couple of things different. Equipment Needed A craft knife with spare blades - I used a Stanley type, but changed the blade three times (using both ends). It has to be very sharp. A metal straight edge. A cutting mat - I couldn''t find mine so used a piece of ply (hence to need to change blades). Two scalpel type craft knives - for positioning the transfer. A soft artist's paint brush (recommended by Locolines - but I didn't use it). A dinner plate with water to about 1/4" Kitchen towel A ruler or digital caliper to check distances and positioning. Some white spirit for cleaning/degreasing (though not if your paint is enamel type). A powerful light and your strongest close-work glasses (if needed). Cut out a number of sets of lines and corners. Cut as close to the line colour as you can as the body colour is only approximate. Lay the loco on a soft cloth or cardboard. Clean and degrease the paint surface. Ensure it is fully dry before applying the transfers. Cut the lines to length allowing them to just meet at the corner - leaving a line width square gap at the corner. You are not overlapping or but jointing. The corner piece itself will overlap both. (I started by ignoring the instructions and trying to butt joint the corner piece. Bad idea!). Application When ready - drop the first line into the water and ensure there is contact all along. Instructions say 5 secs, but I needed at least 10. Lift it with wet fingers and place in position. Using the two scalpels, ease the transfer off the backing at one end and "pin" it in position with one scalpel. Use the other one to lift the transfer at the other end and start to draw the paper out. Easier said than done. I usually grabbed it with my fingers. Then a smooth straight pull will draw the backing out and put the line in position. While it is still wet it can be repositioned and check for straightness by sighting along it. Check it is parallel to the nearest edge at the right distance. When happy, just dab it thith the kitchen towel and smooth it with the back of a finger nail to ensure no bubble. Then repeat with the next line so that the corners just touch. Allow to dry for six hours before turning the loco and tackling the other side. This is the recommended time and not worth the risk to do it sooner! |
Workshop > Lining out locos >


